
How to Create an Instagrammable Flat Lay

Whether you’re tired of your same ole quarantine routine, or just need a little imaginative pick-me-up, creating a fresh floral flat lay is a surefire way to boost your mood and get those creative juices flowing! B Floral’s team of Event Design Manager and Floral Designers are never at a loss for a creative project – especially when it involves flowers! While we are known for over-the-top installations and larger than life flower walls, we also like to focus on the very smallest of details! Creating a flower flat lays is an amazing way to unwind and zone out. We’ve rounded up simple steps (and tips) on creating a fresh floral flat lay that will surely bring in those Instagram likes. Check out our steps and video, below.
STEP ONE: Gather Your Materials
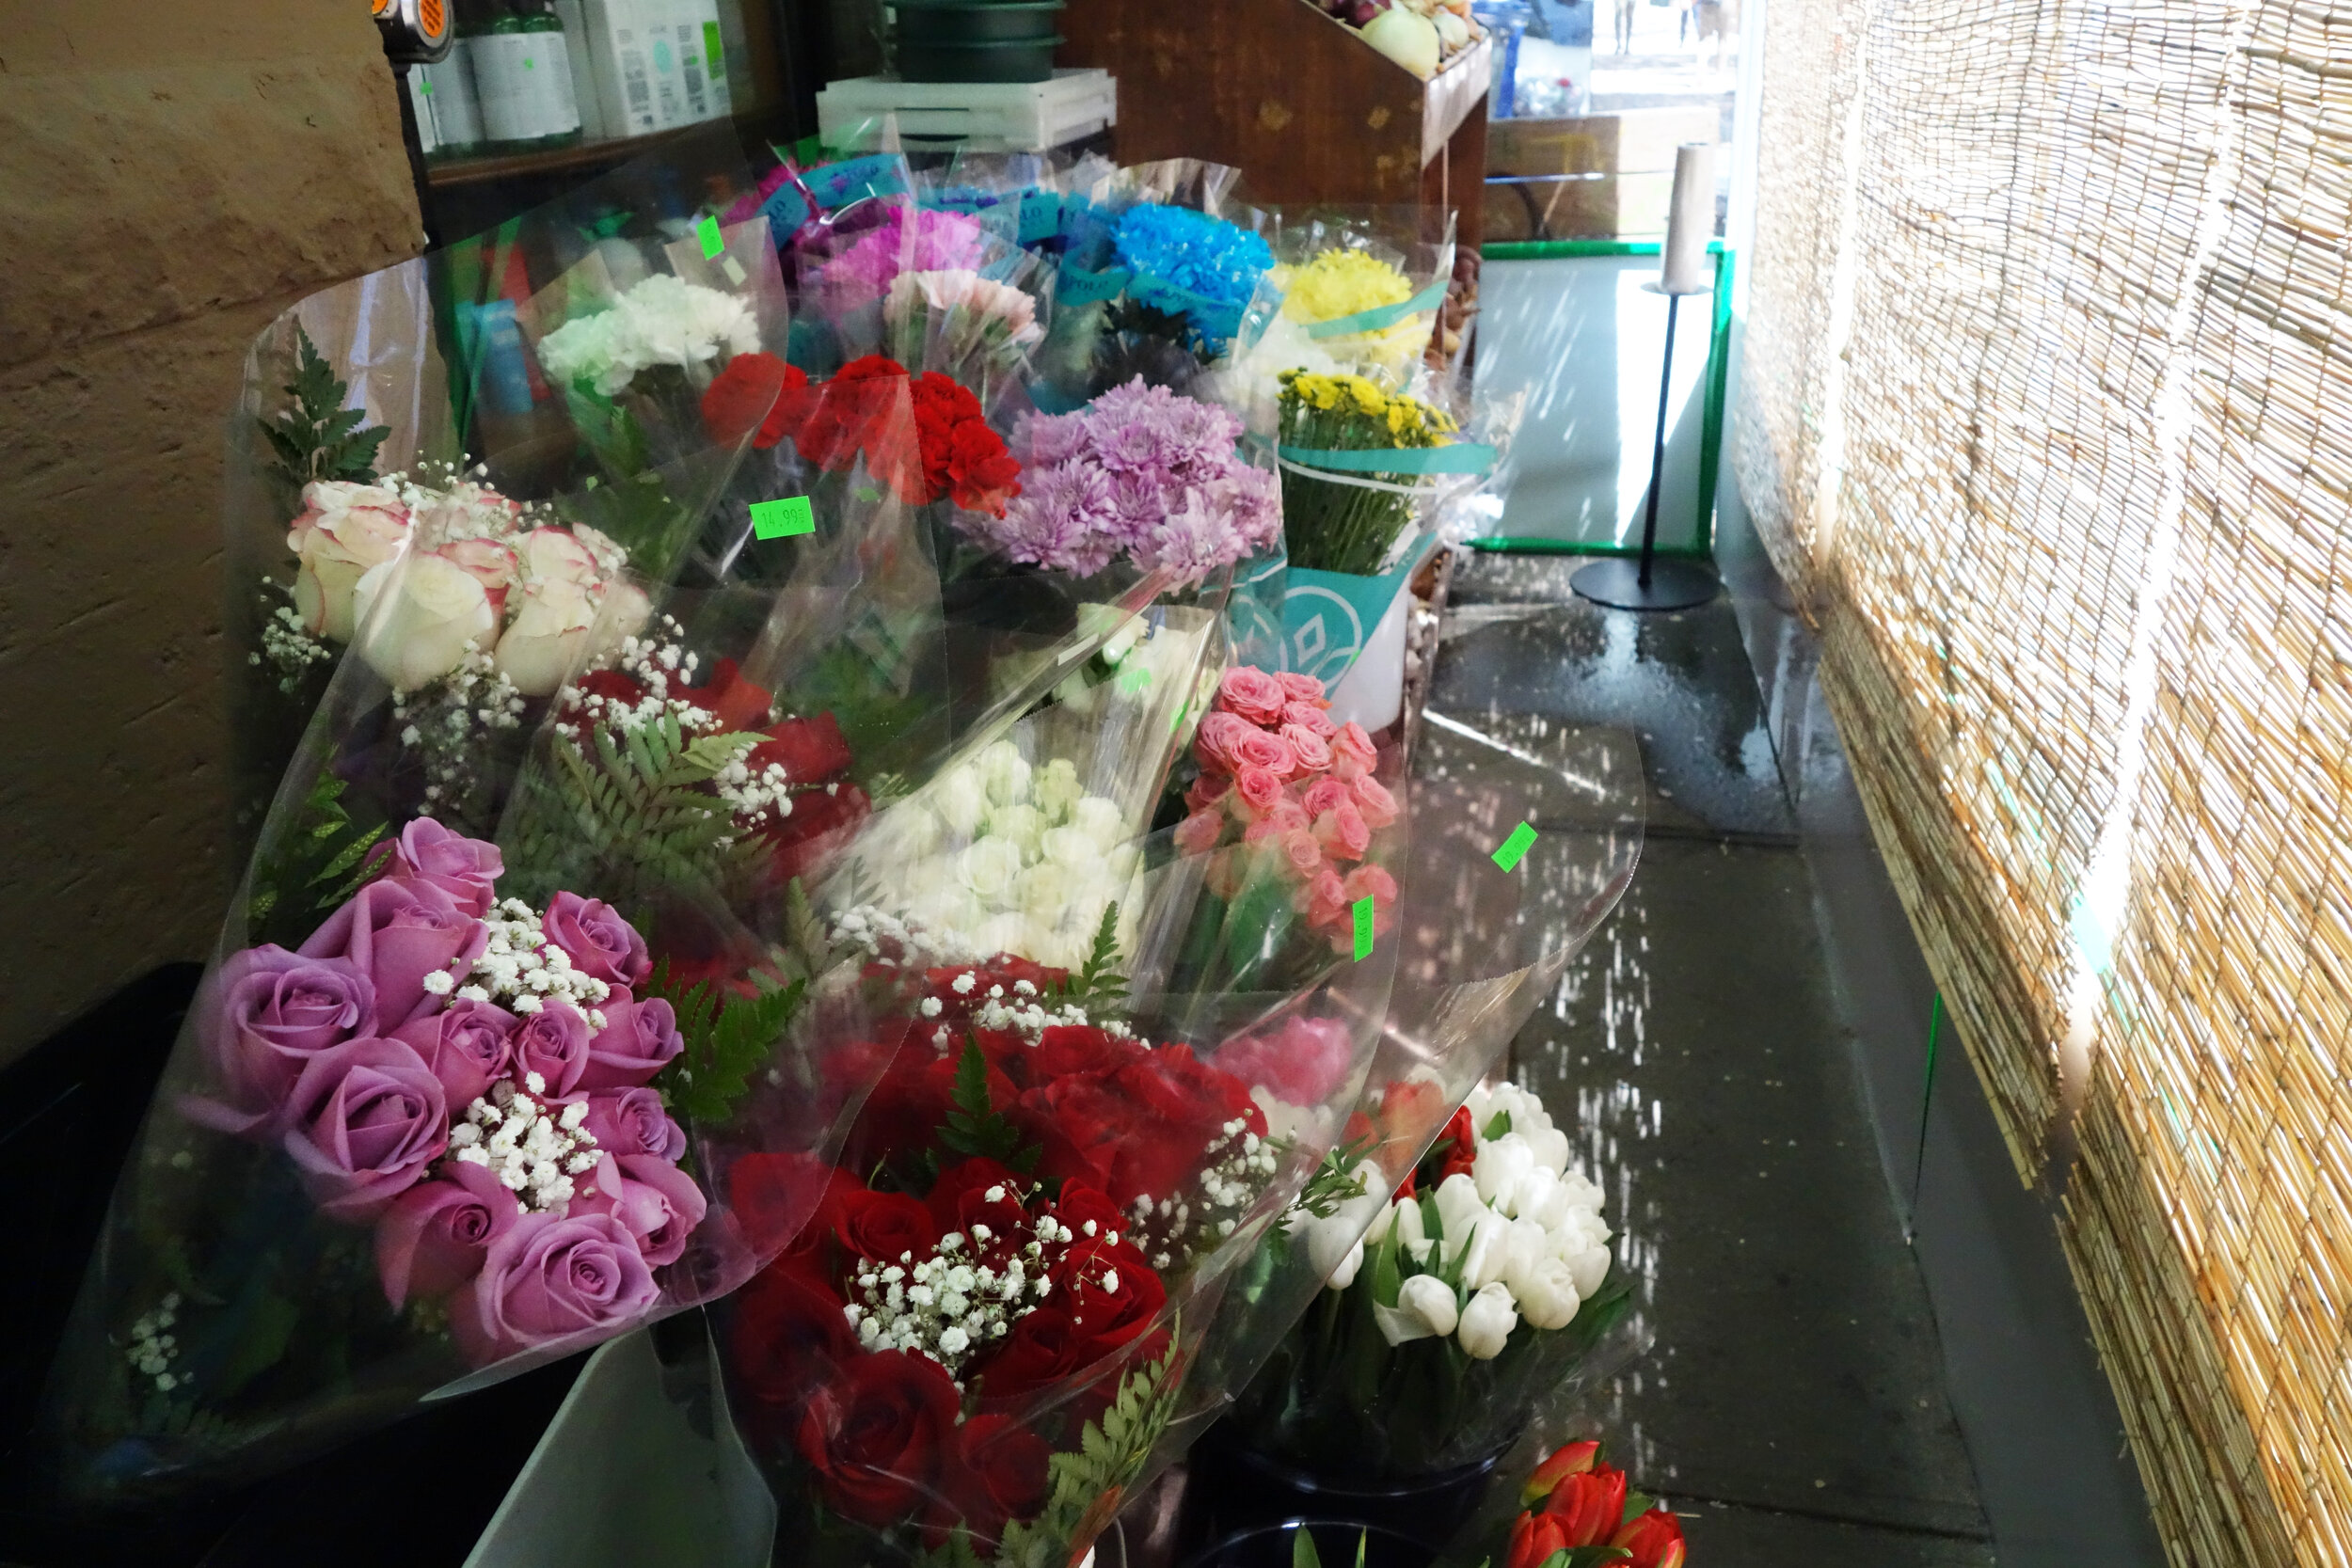
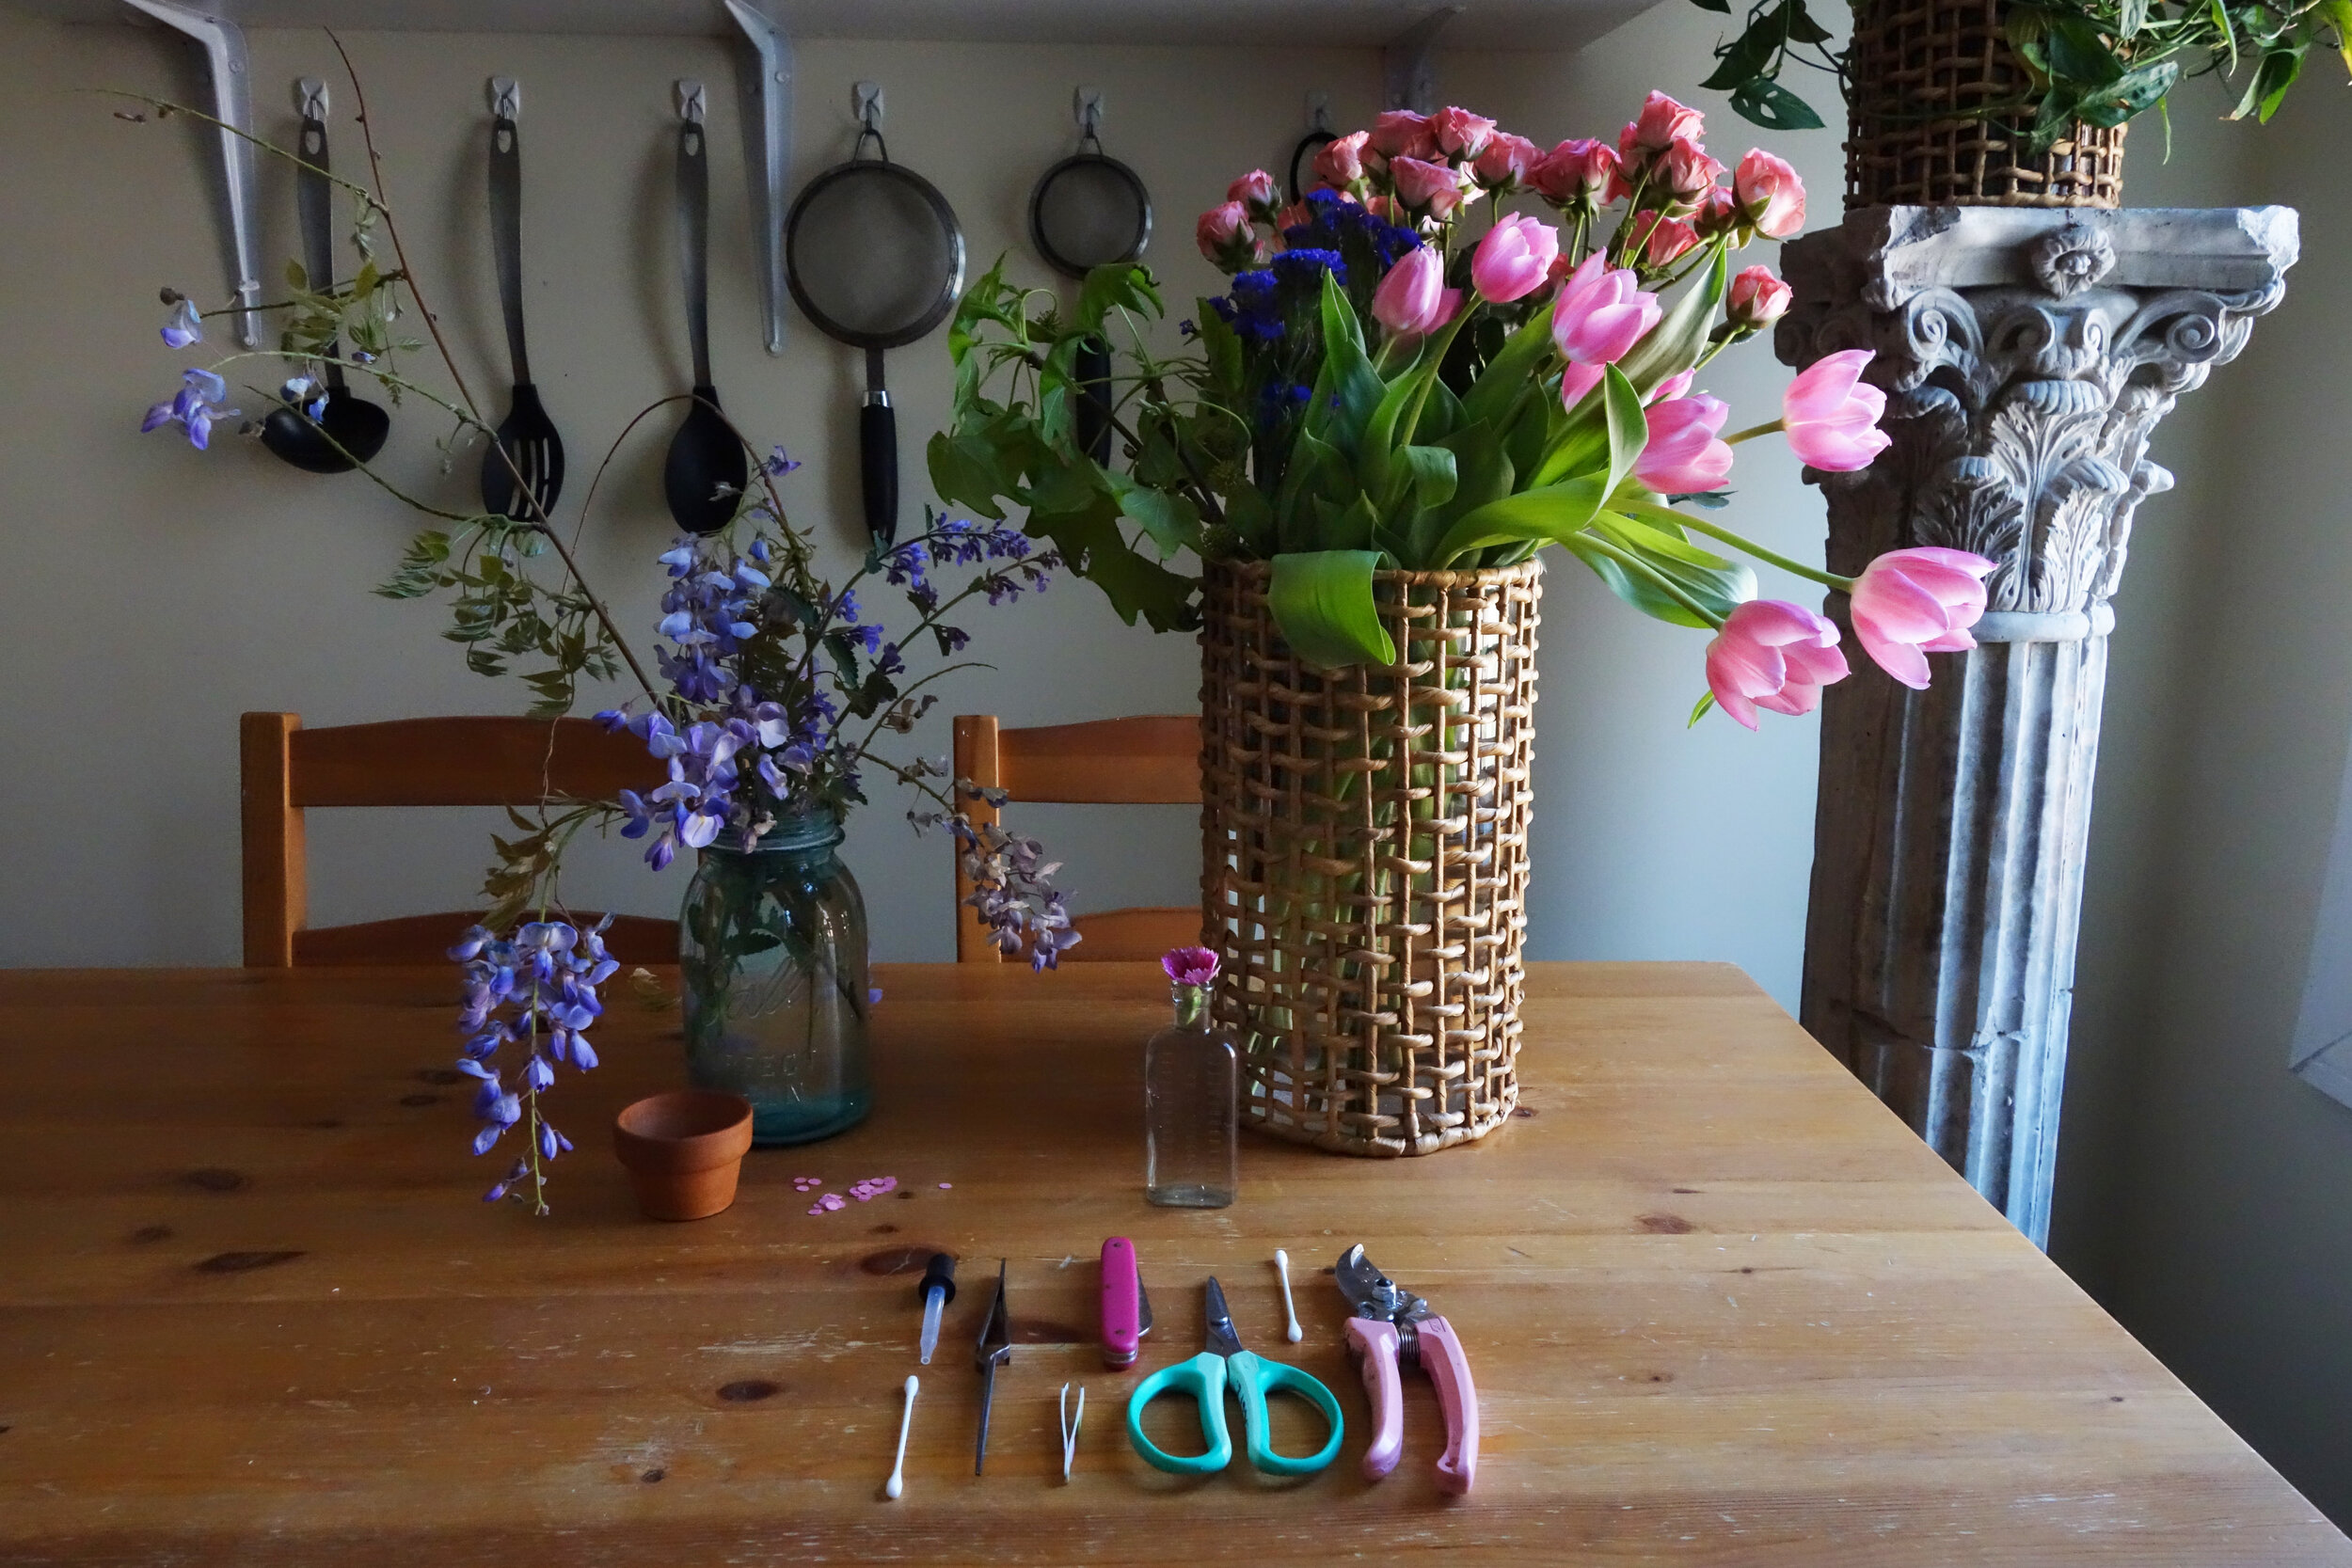
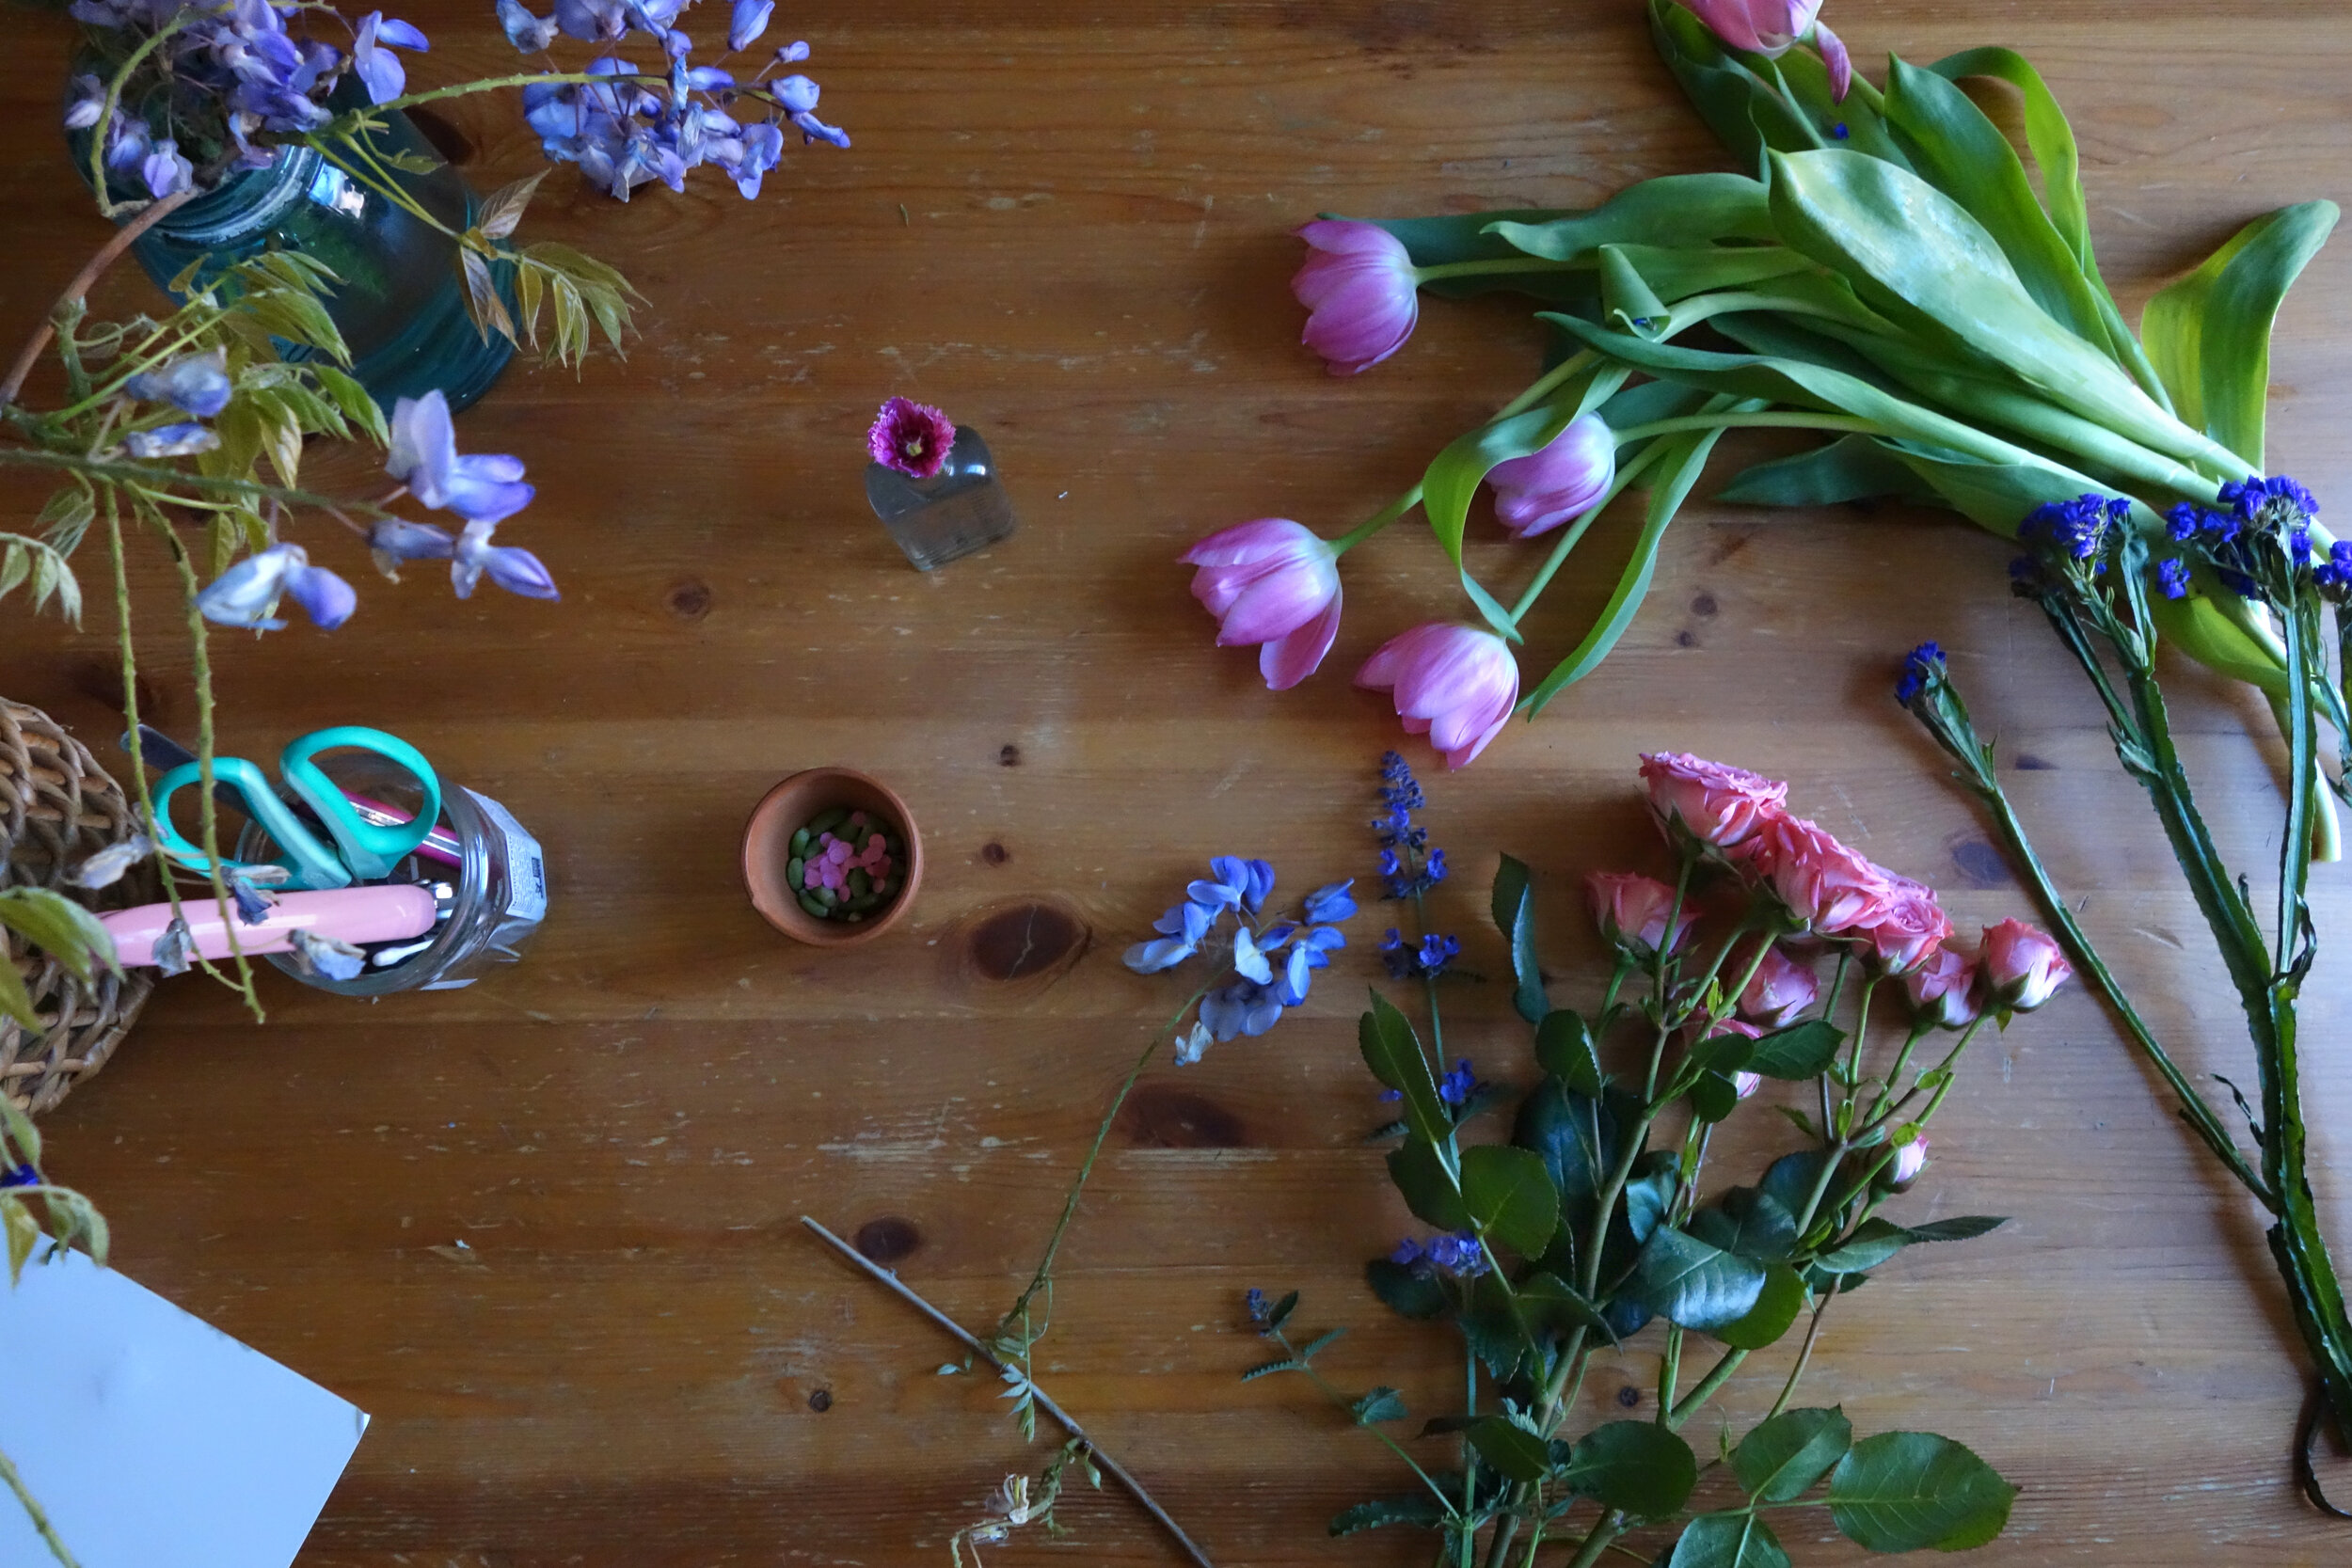
Choose a color palette and start to gather materials and background options.
You Will Need:
-Flowers and plants of your choice
-Clippers or scissors
-Tweezers
-Q-tips
-A few background options
STEP TWO: Find Your Natural Light
Ideally, you should create your flat lay in natural light. Natural light will allow your colors and flowers to ‘pop’ and is the best lighting for taking photographs of your flat lay.
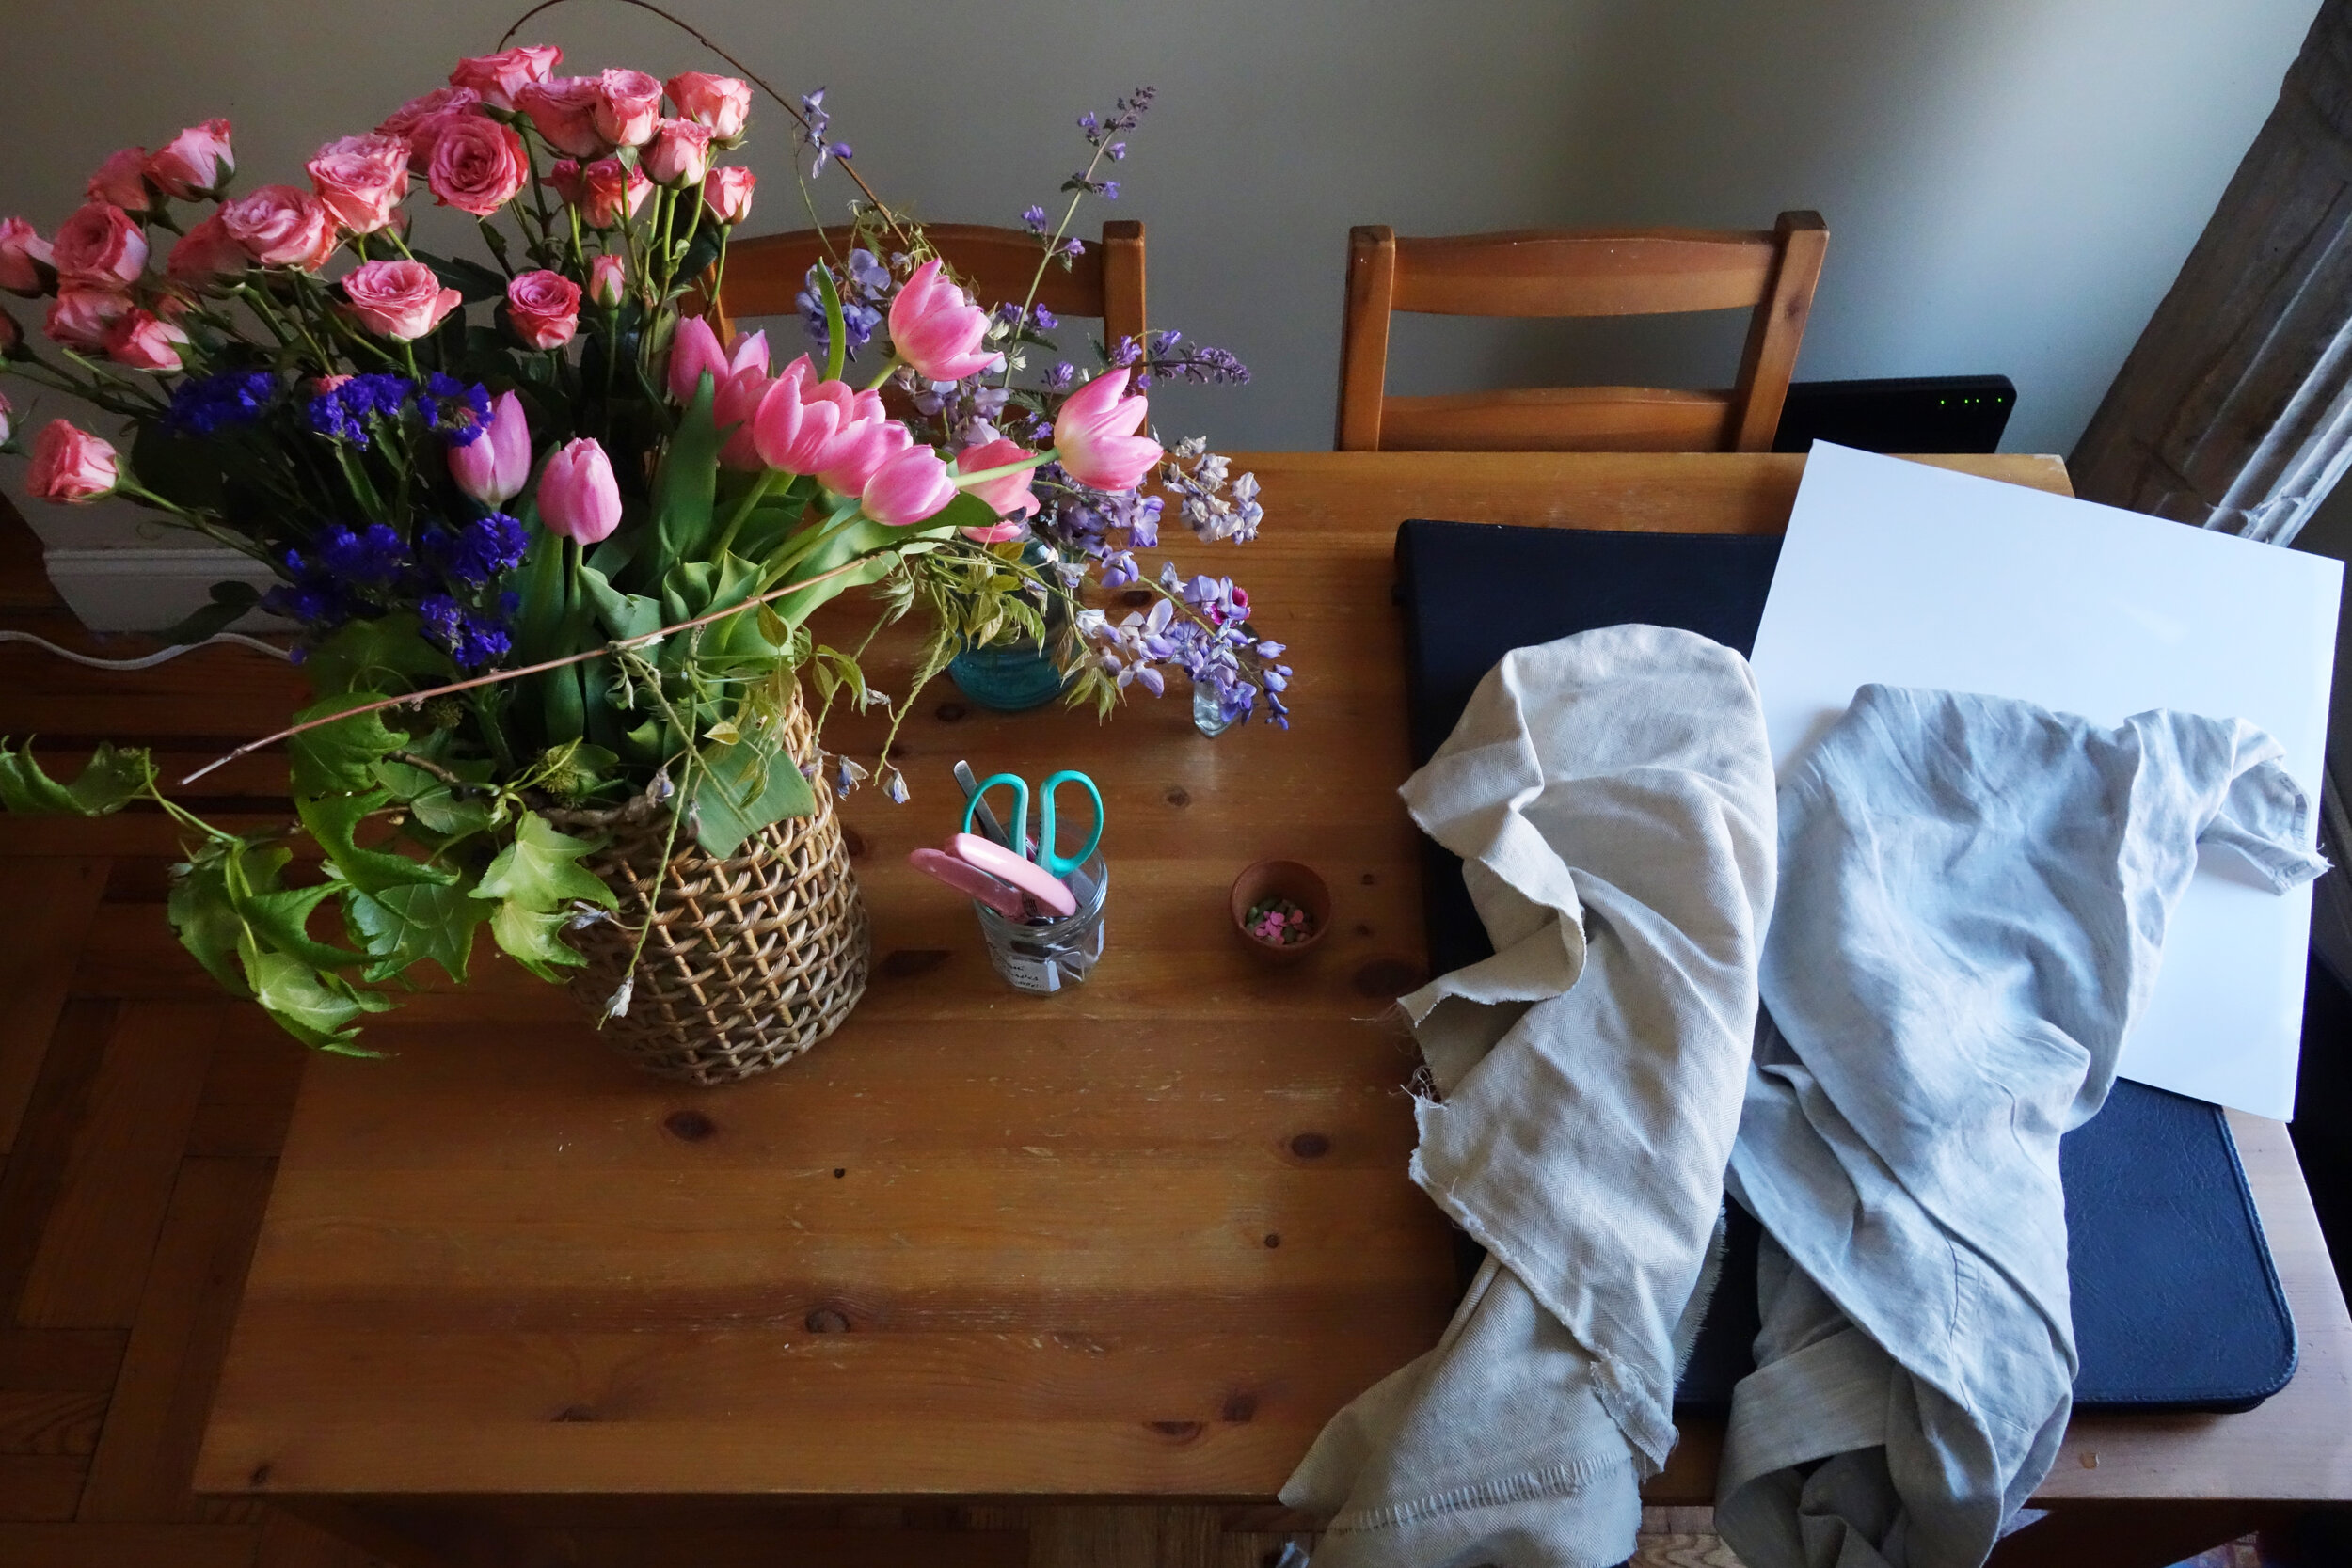
STEP THREE: Test Your Backdrops
Lay your main flowers on your background options and take a few test shots. Notice the lighting direction and shadows and adjust the placement to your liking.
Tip: Tape down a cloth backdrop to keep it smooth and steady.
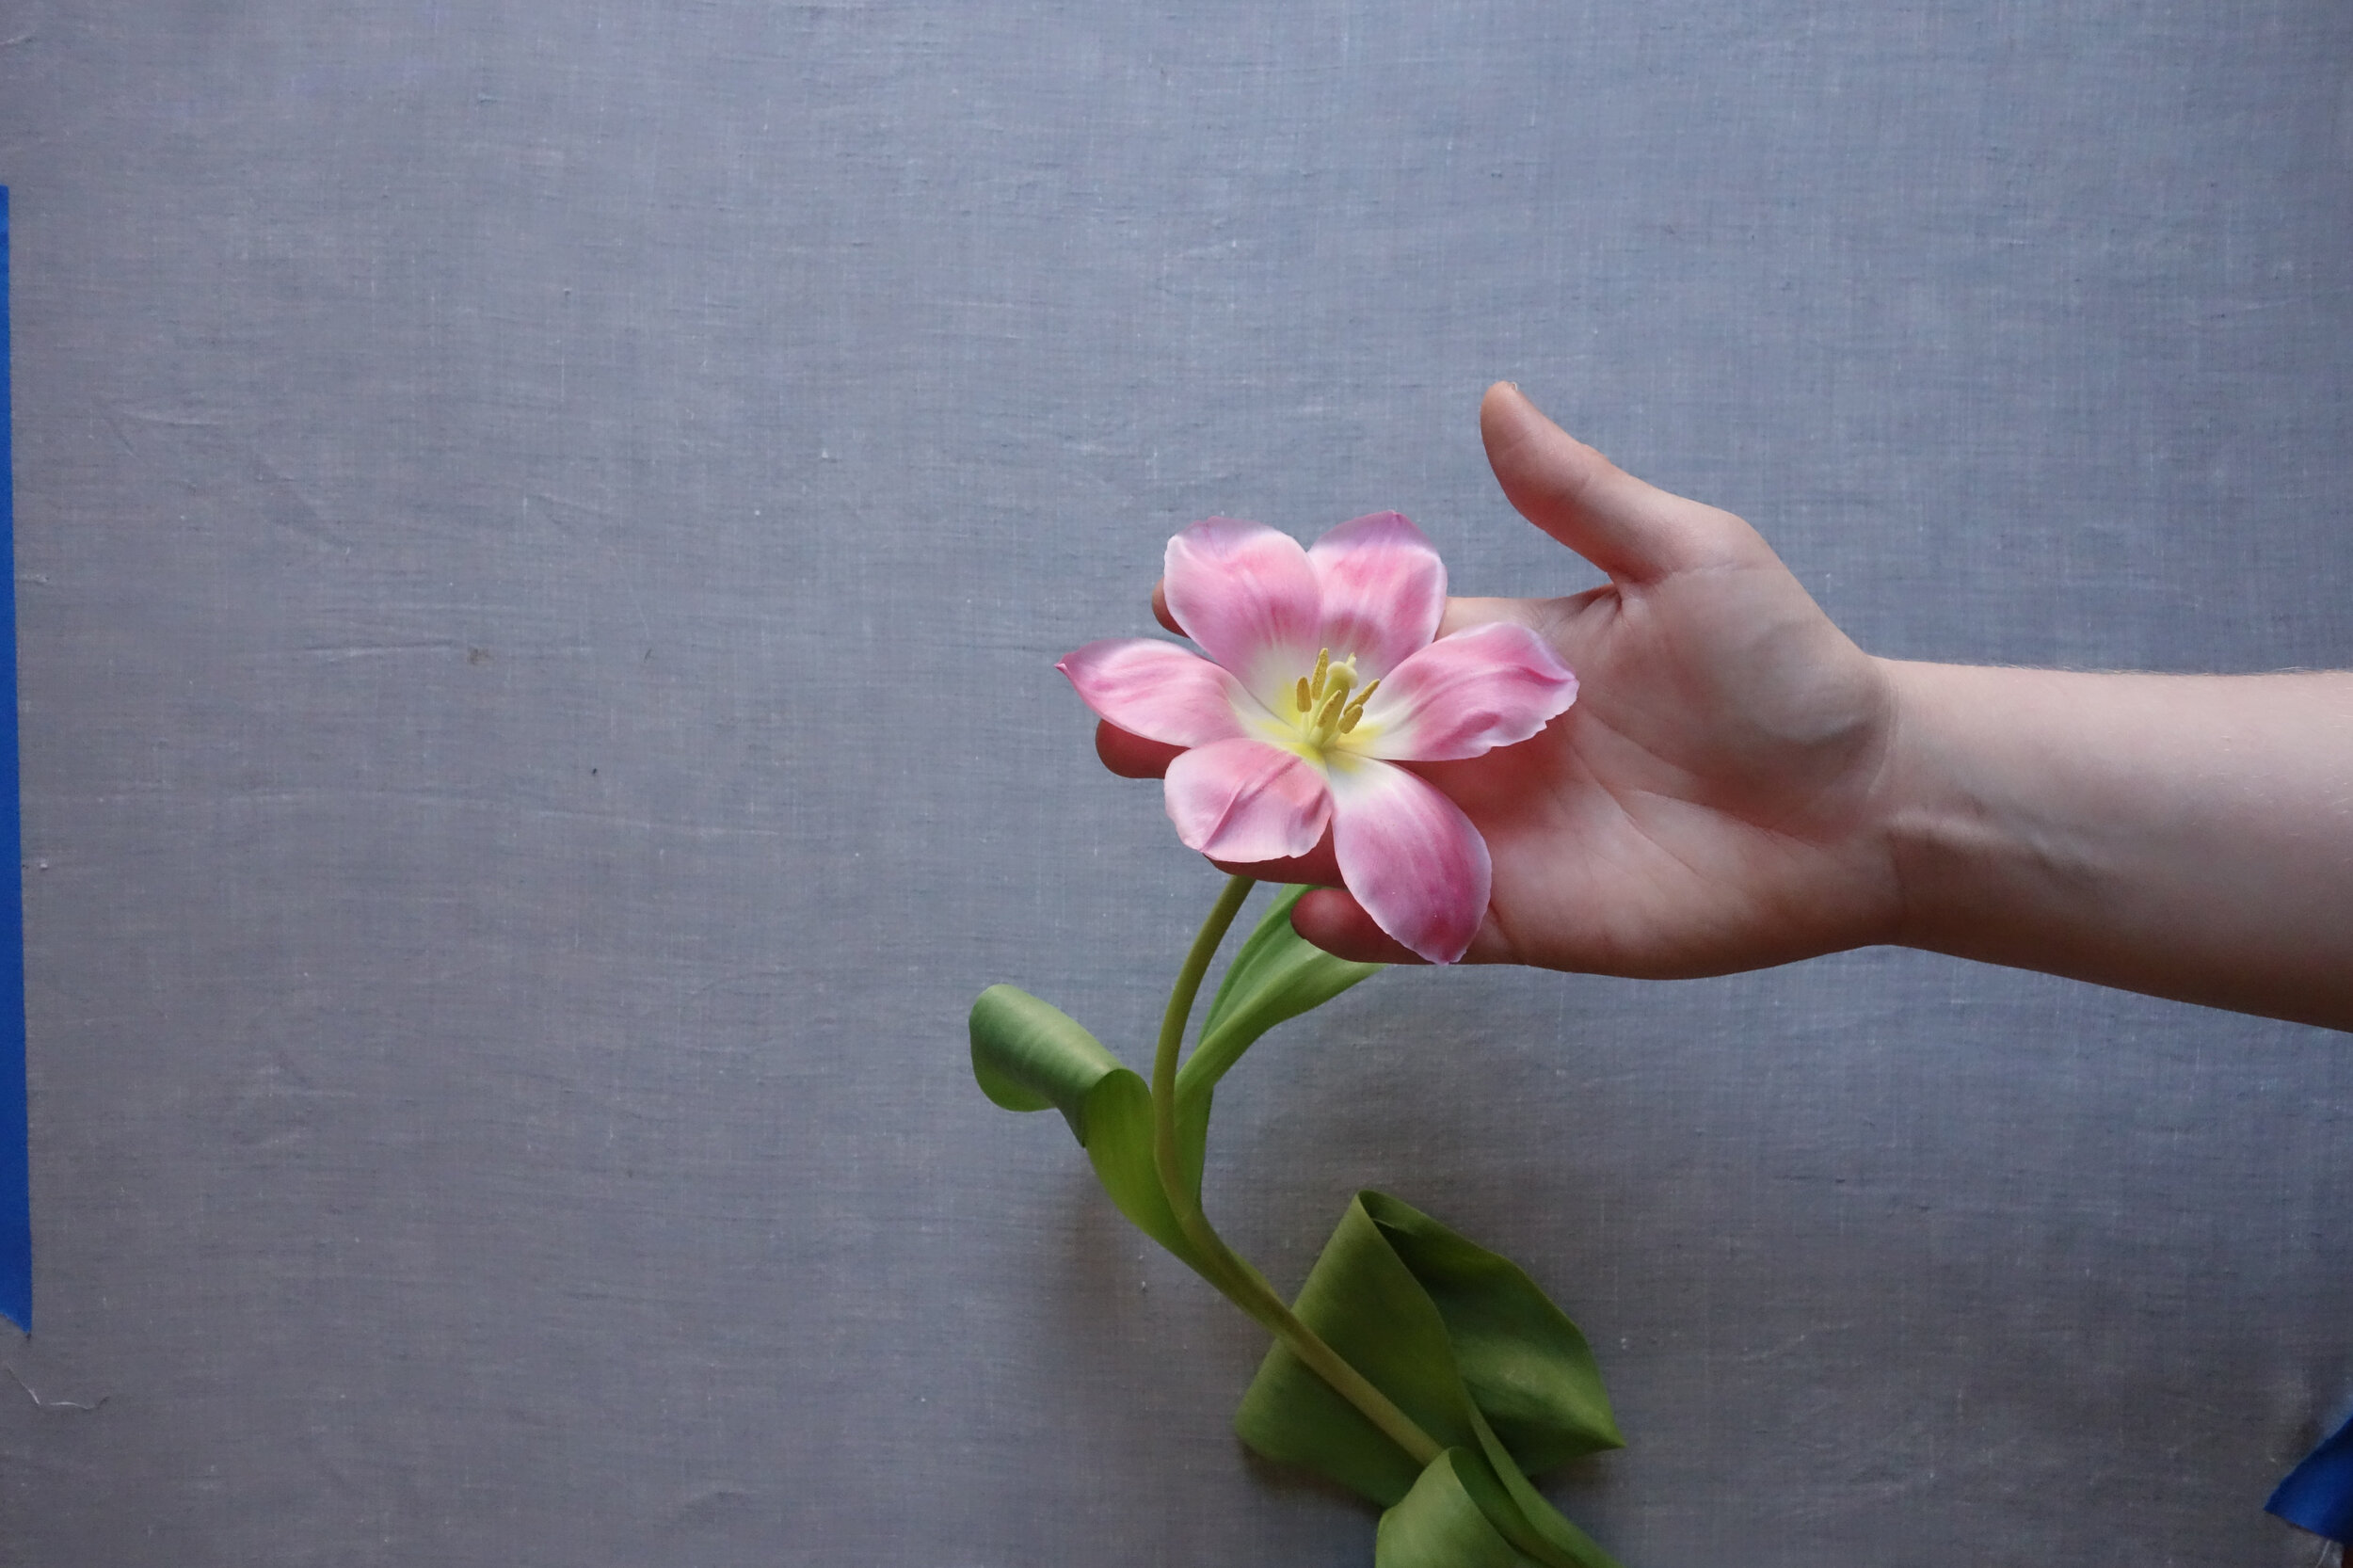
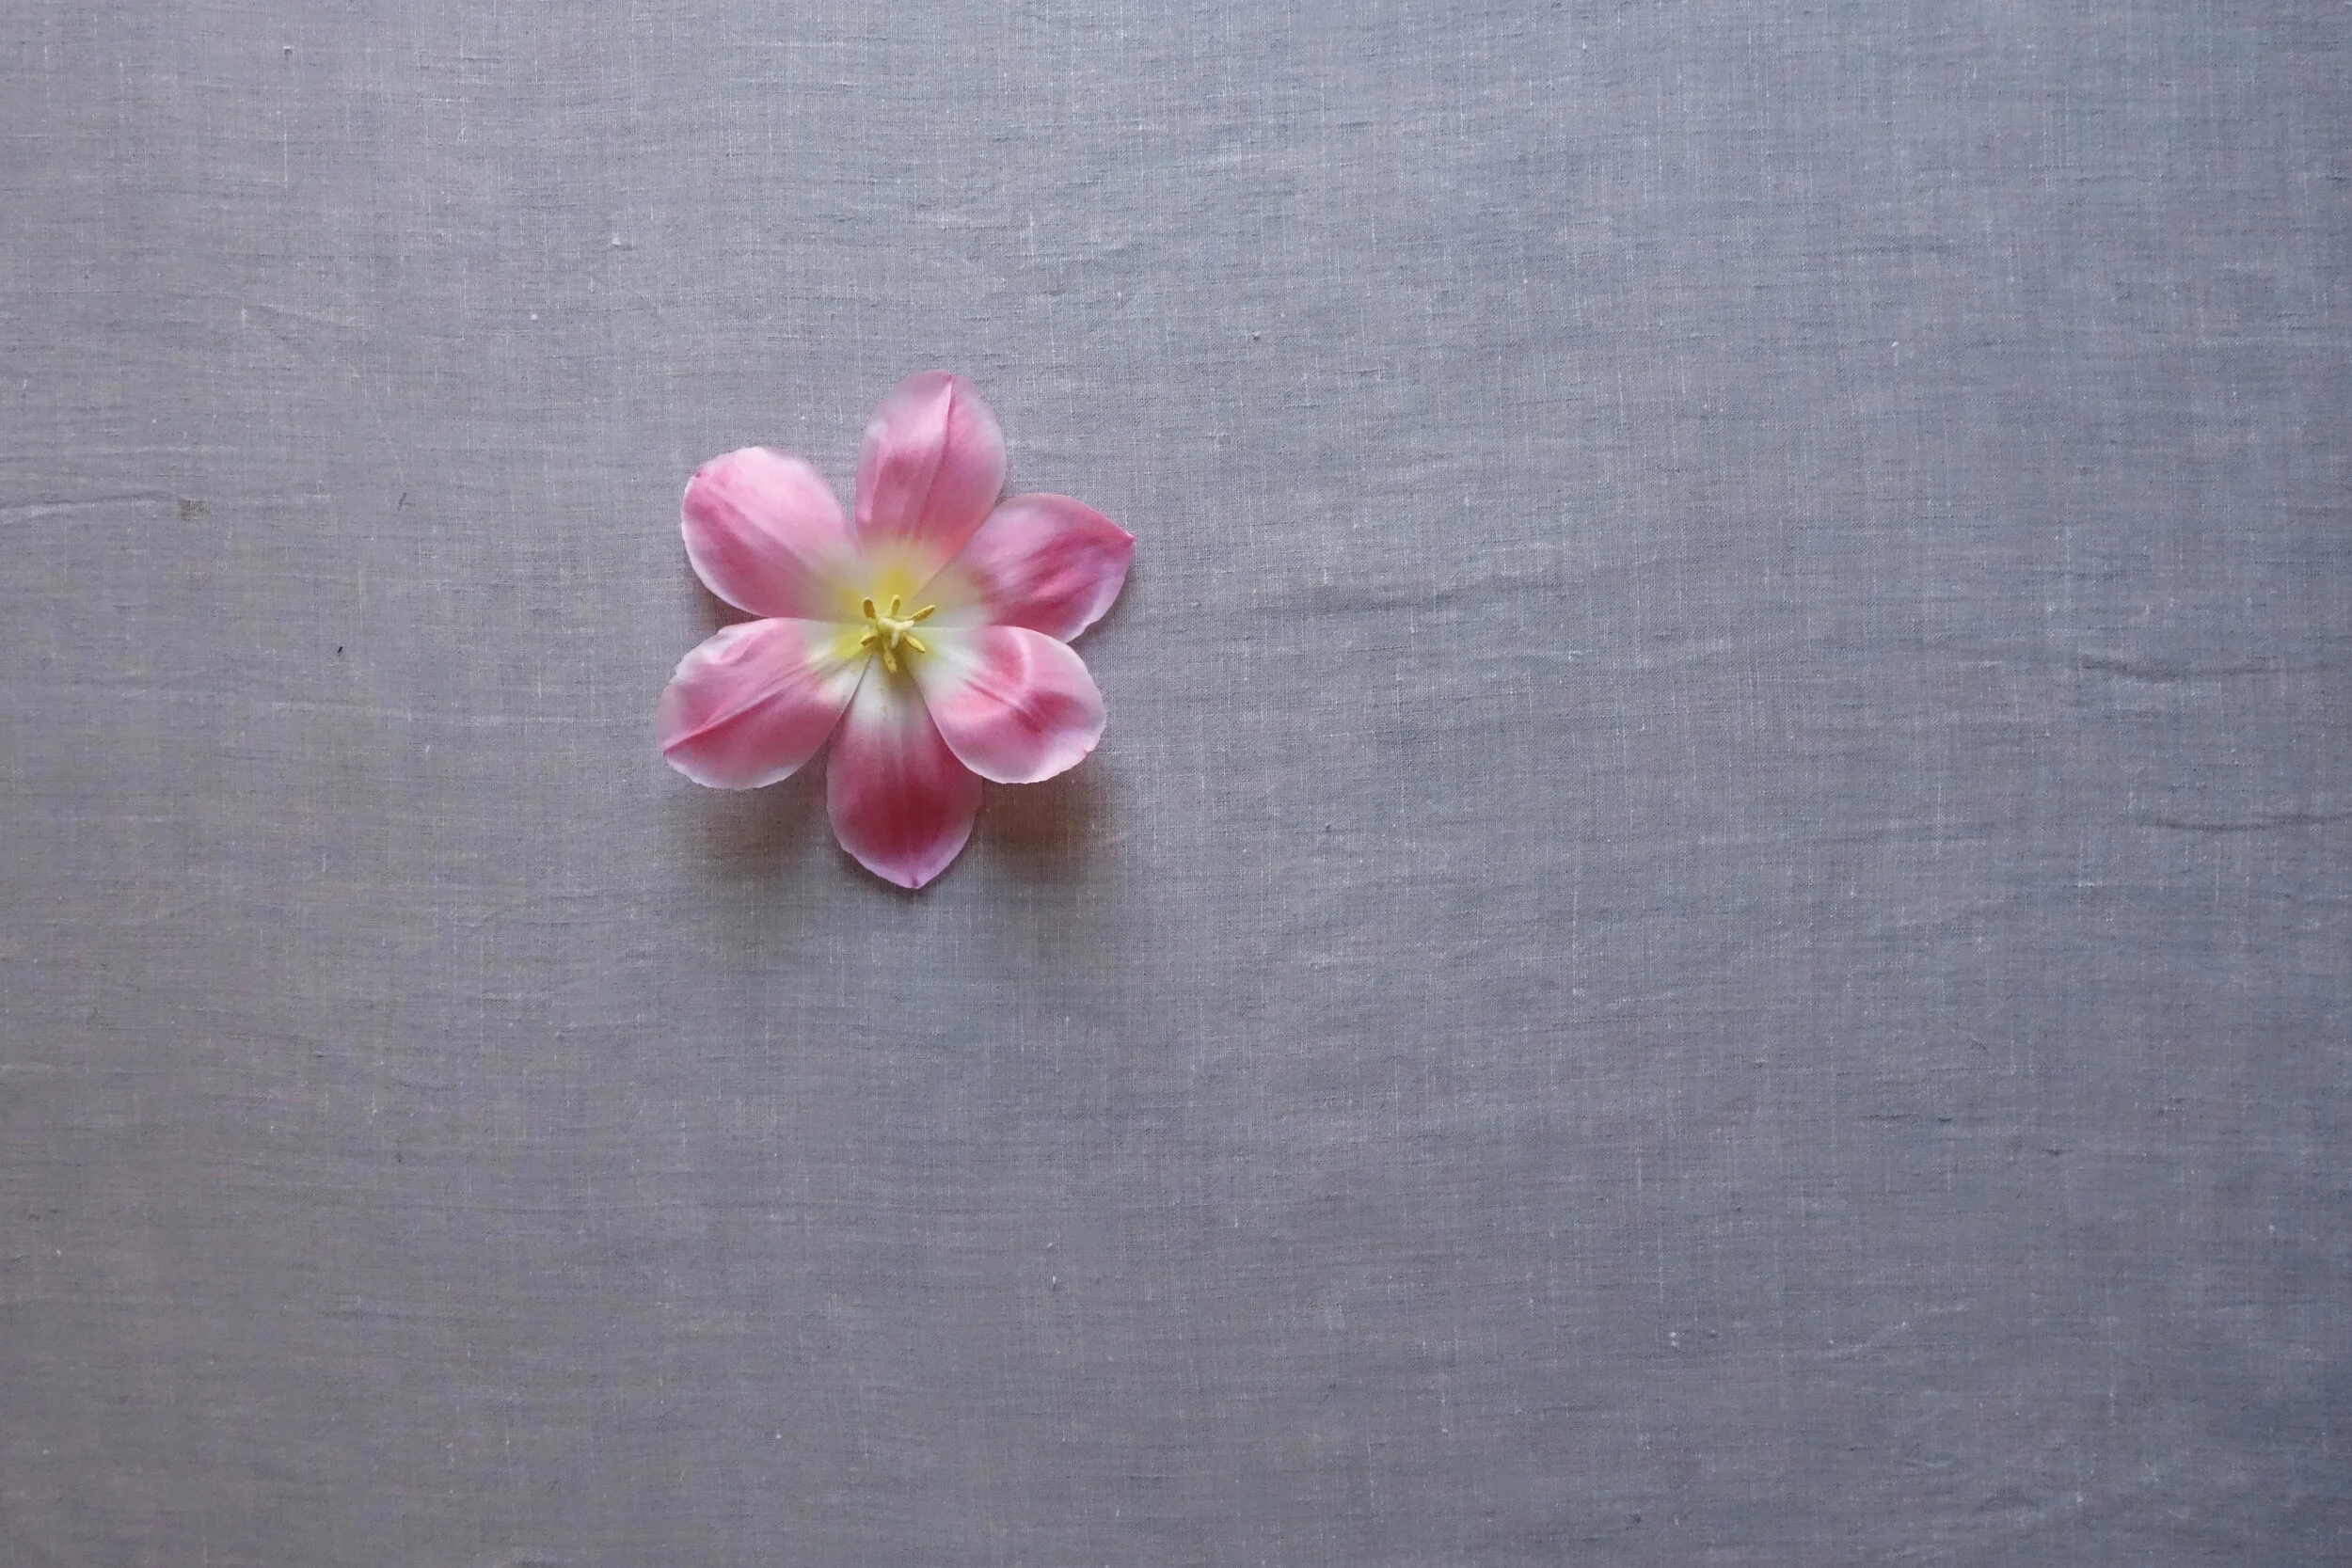
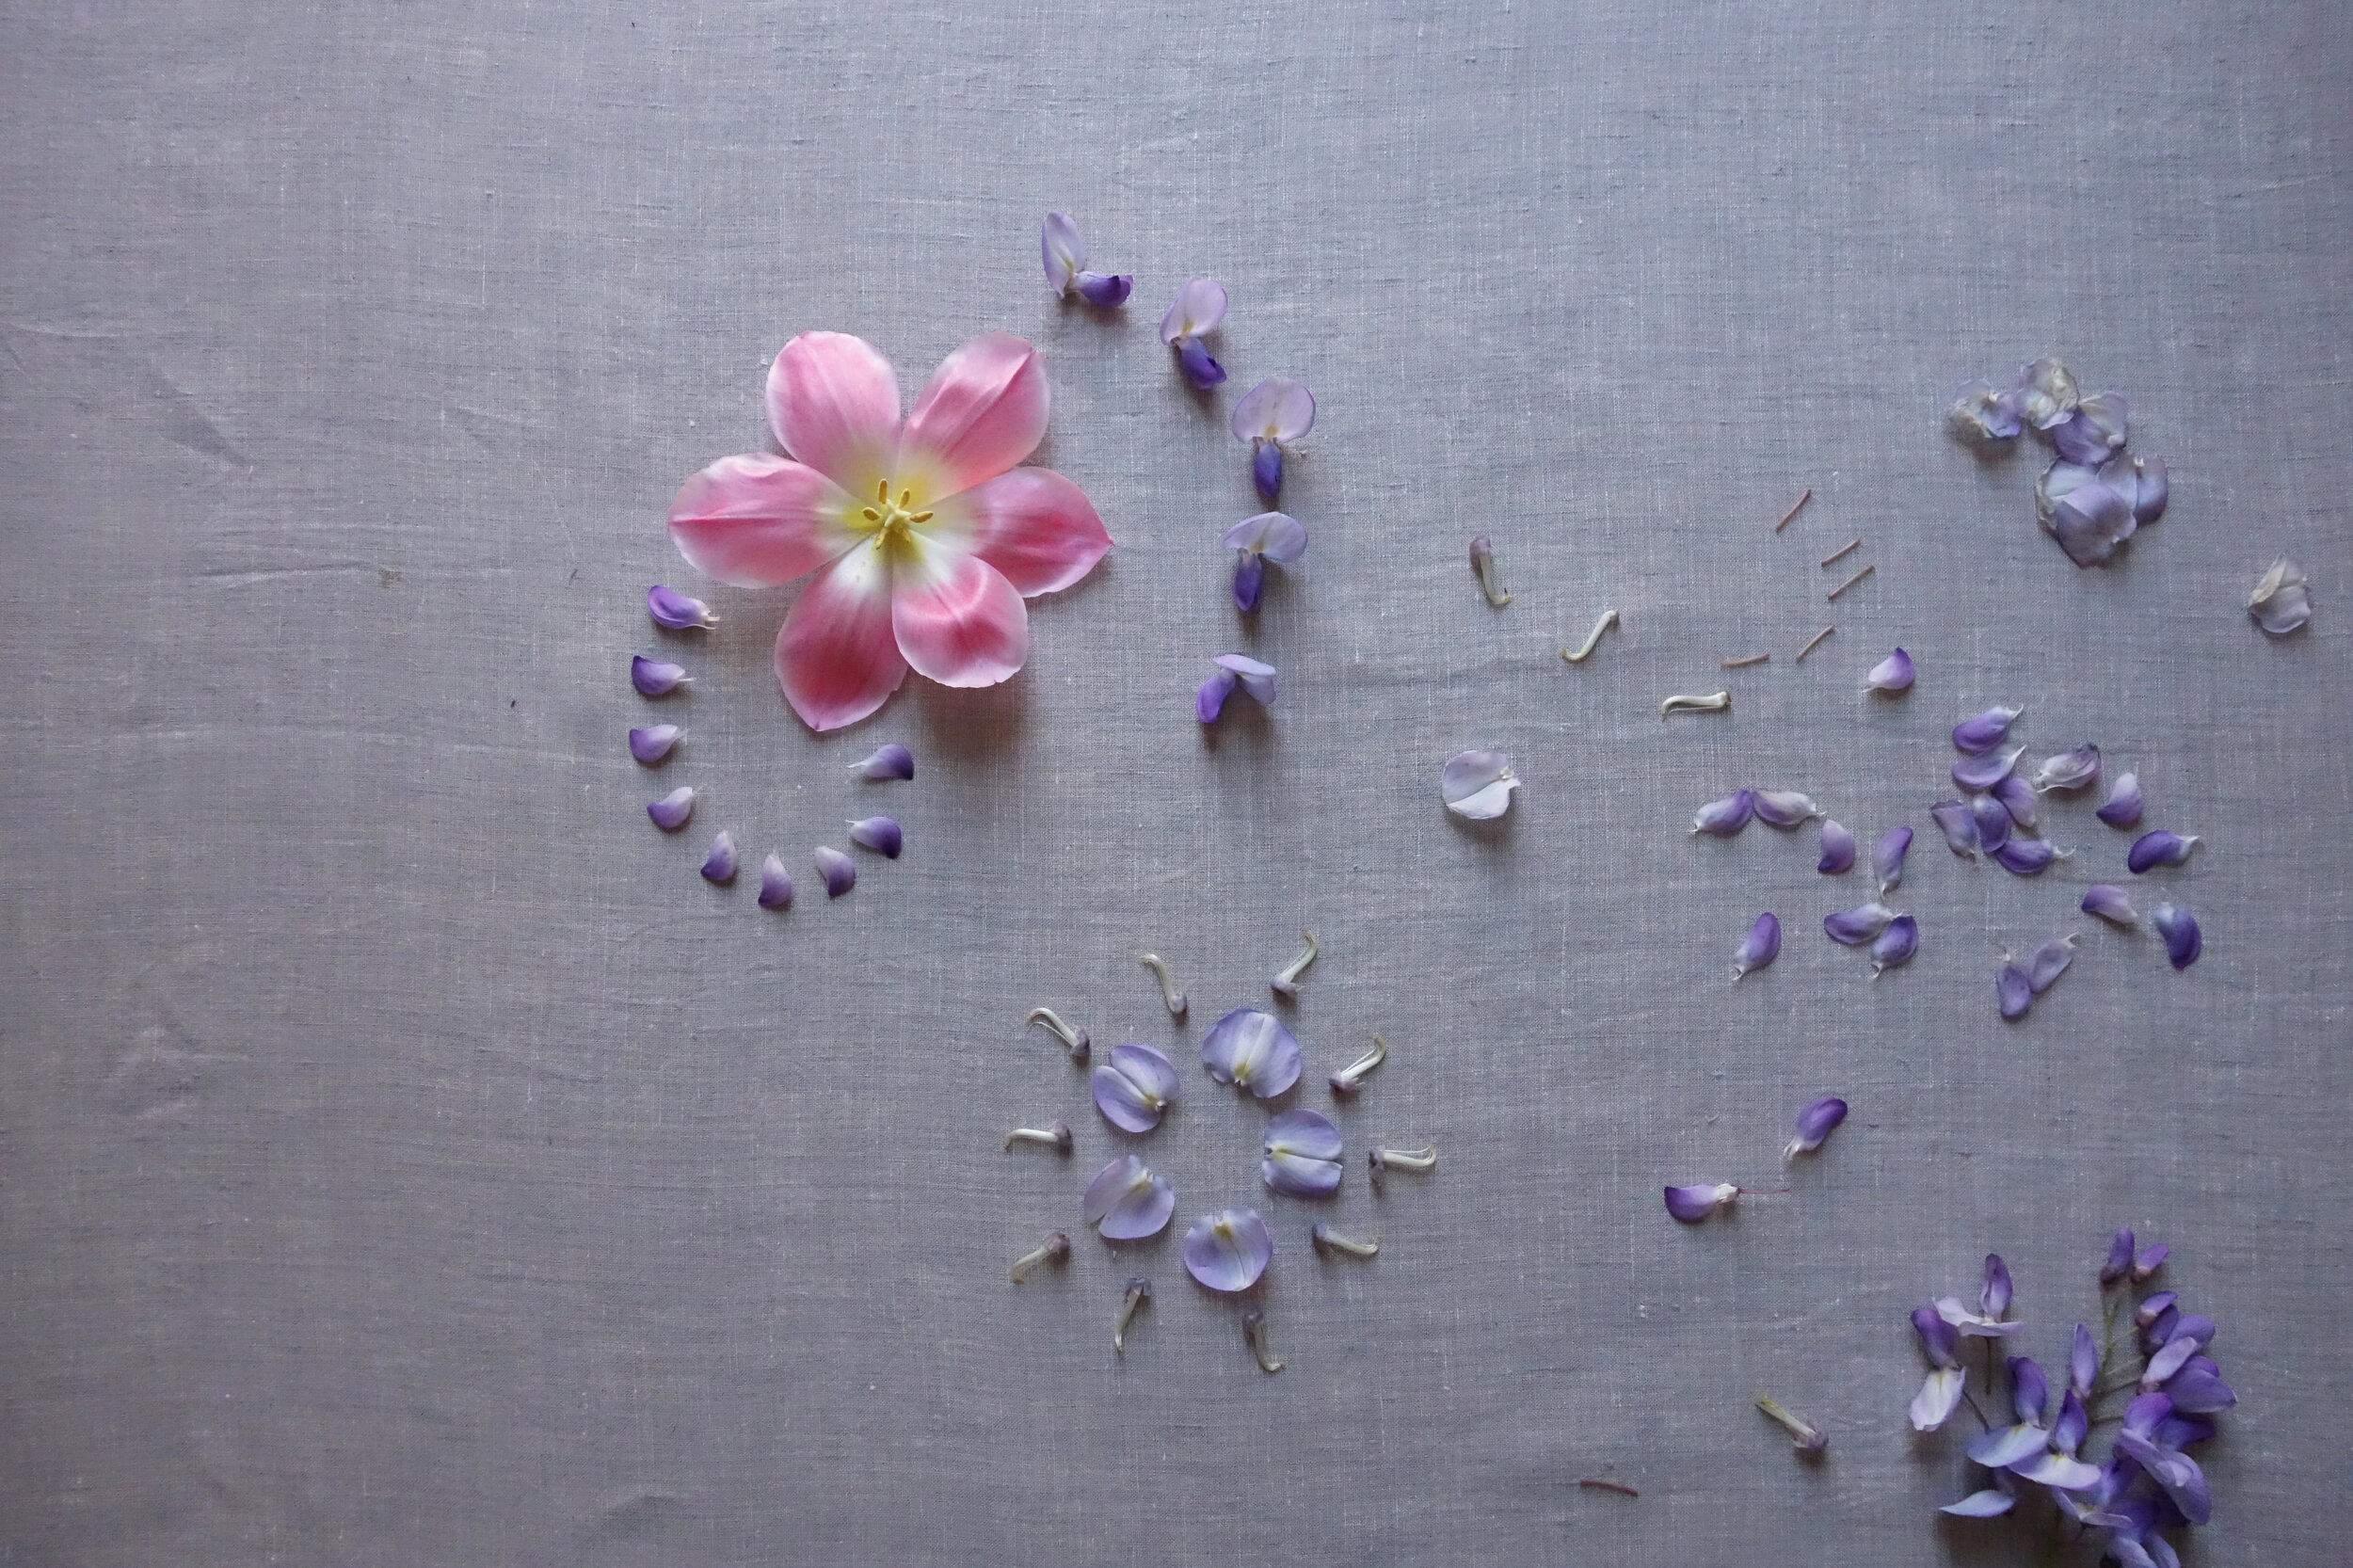
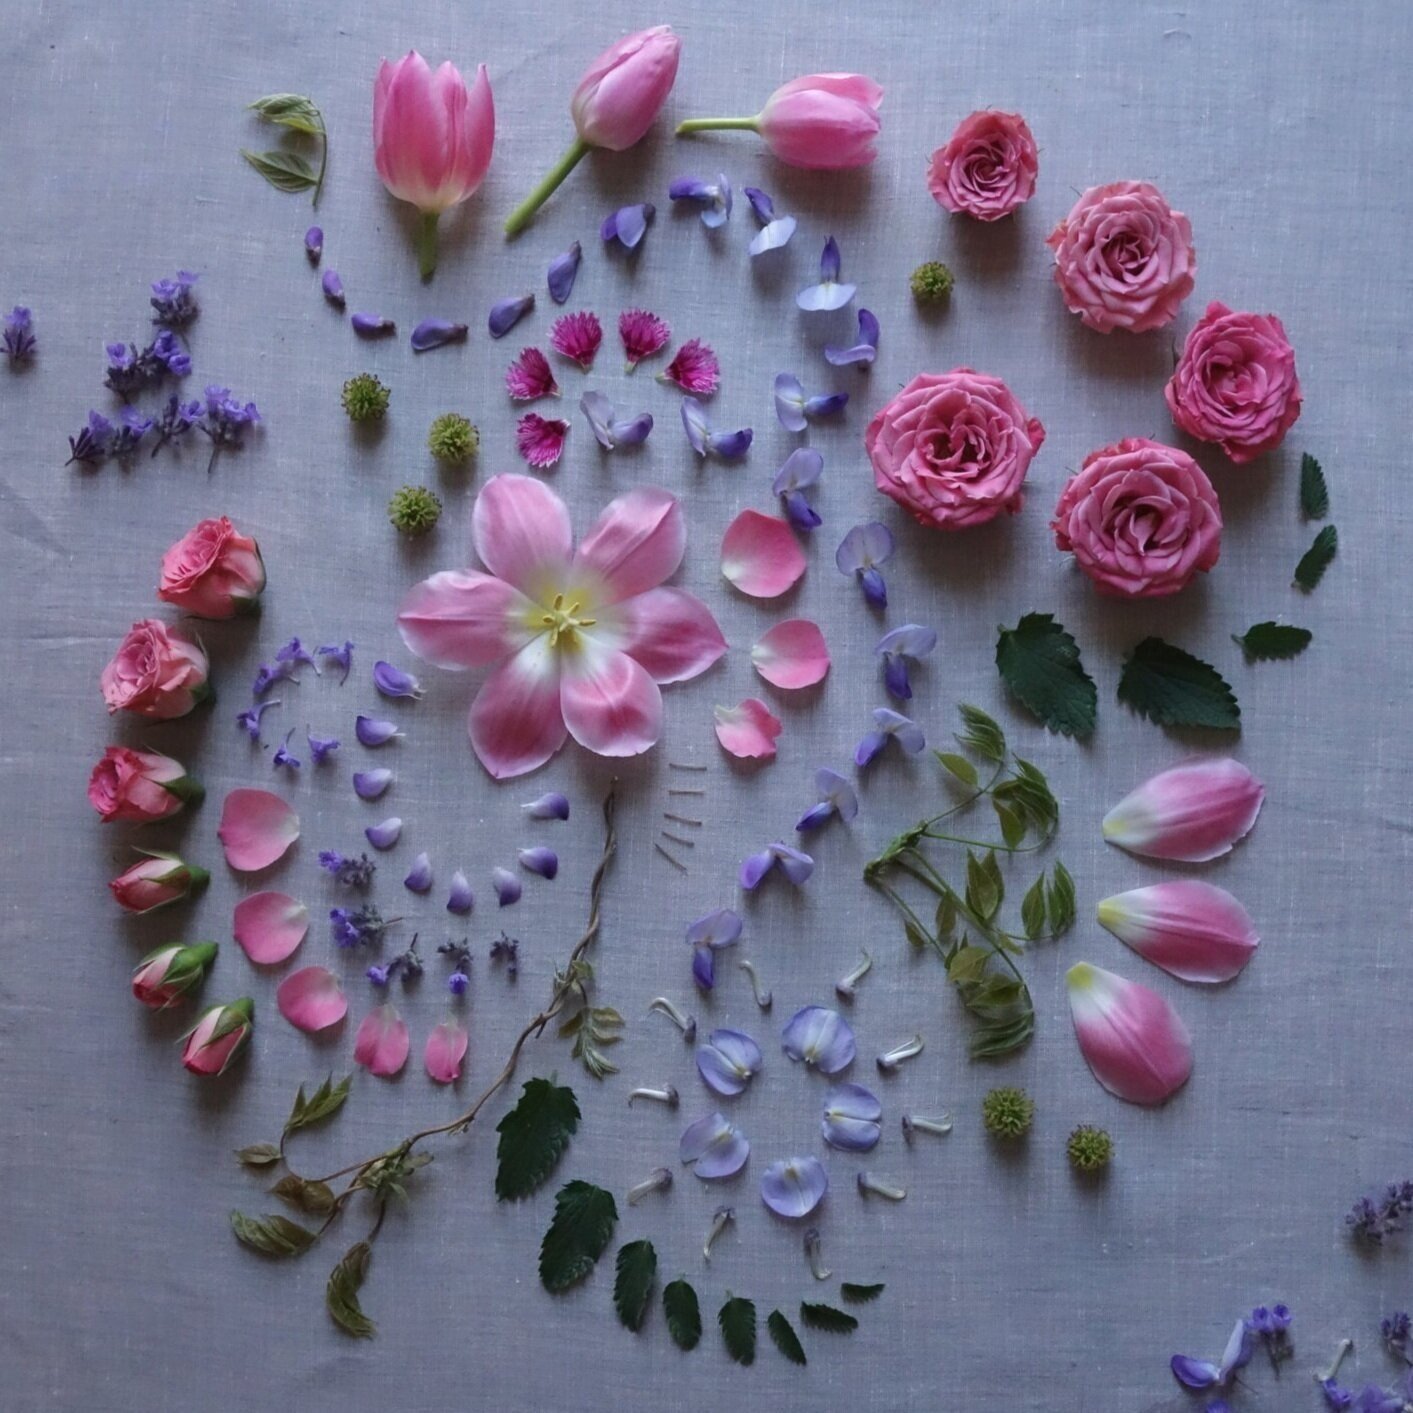
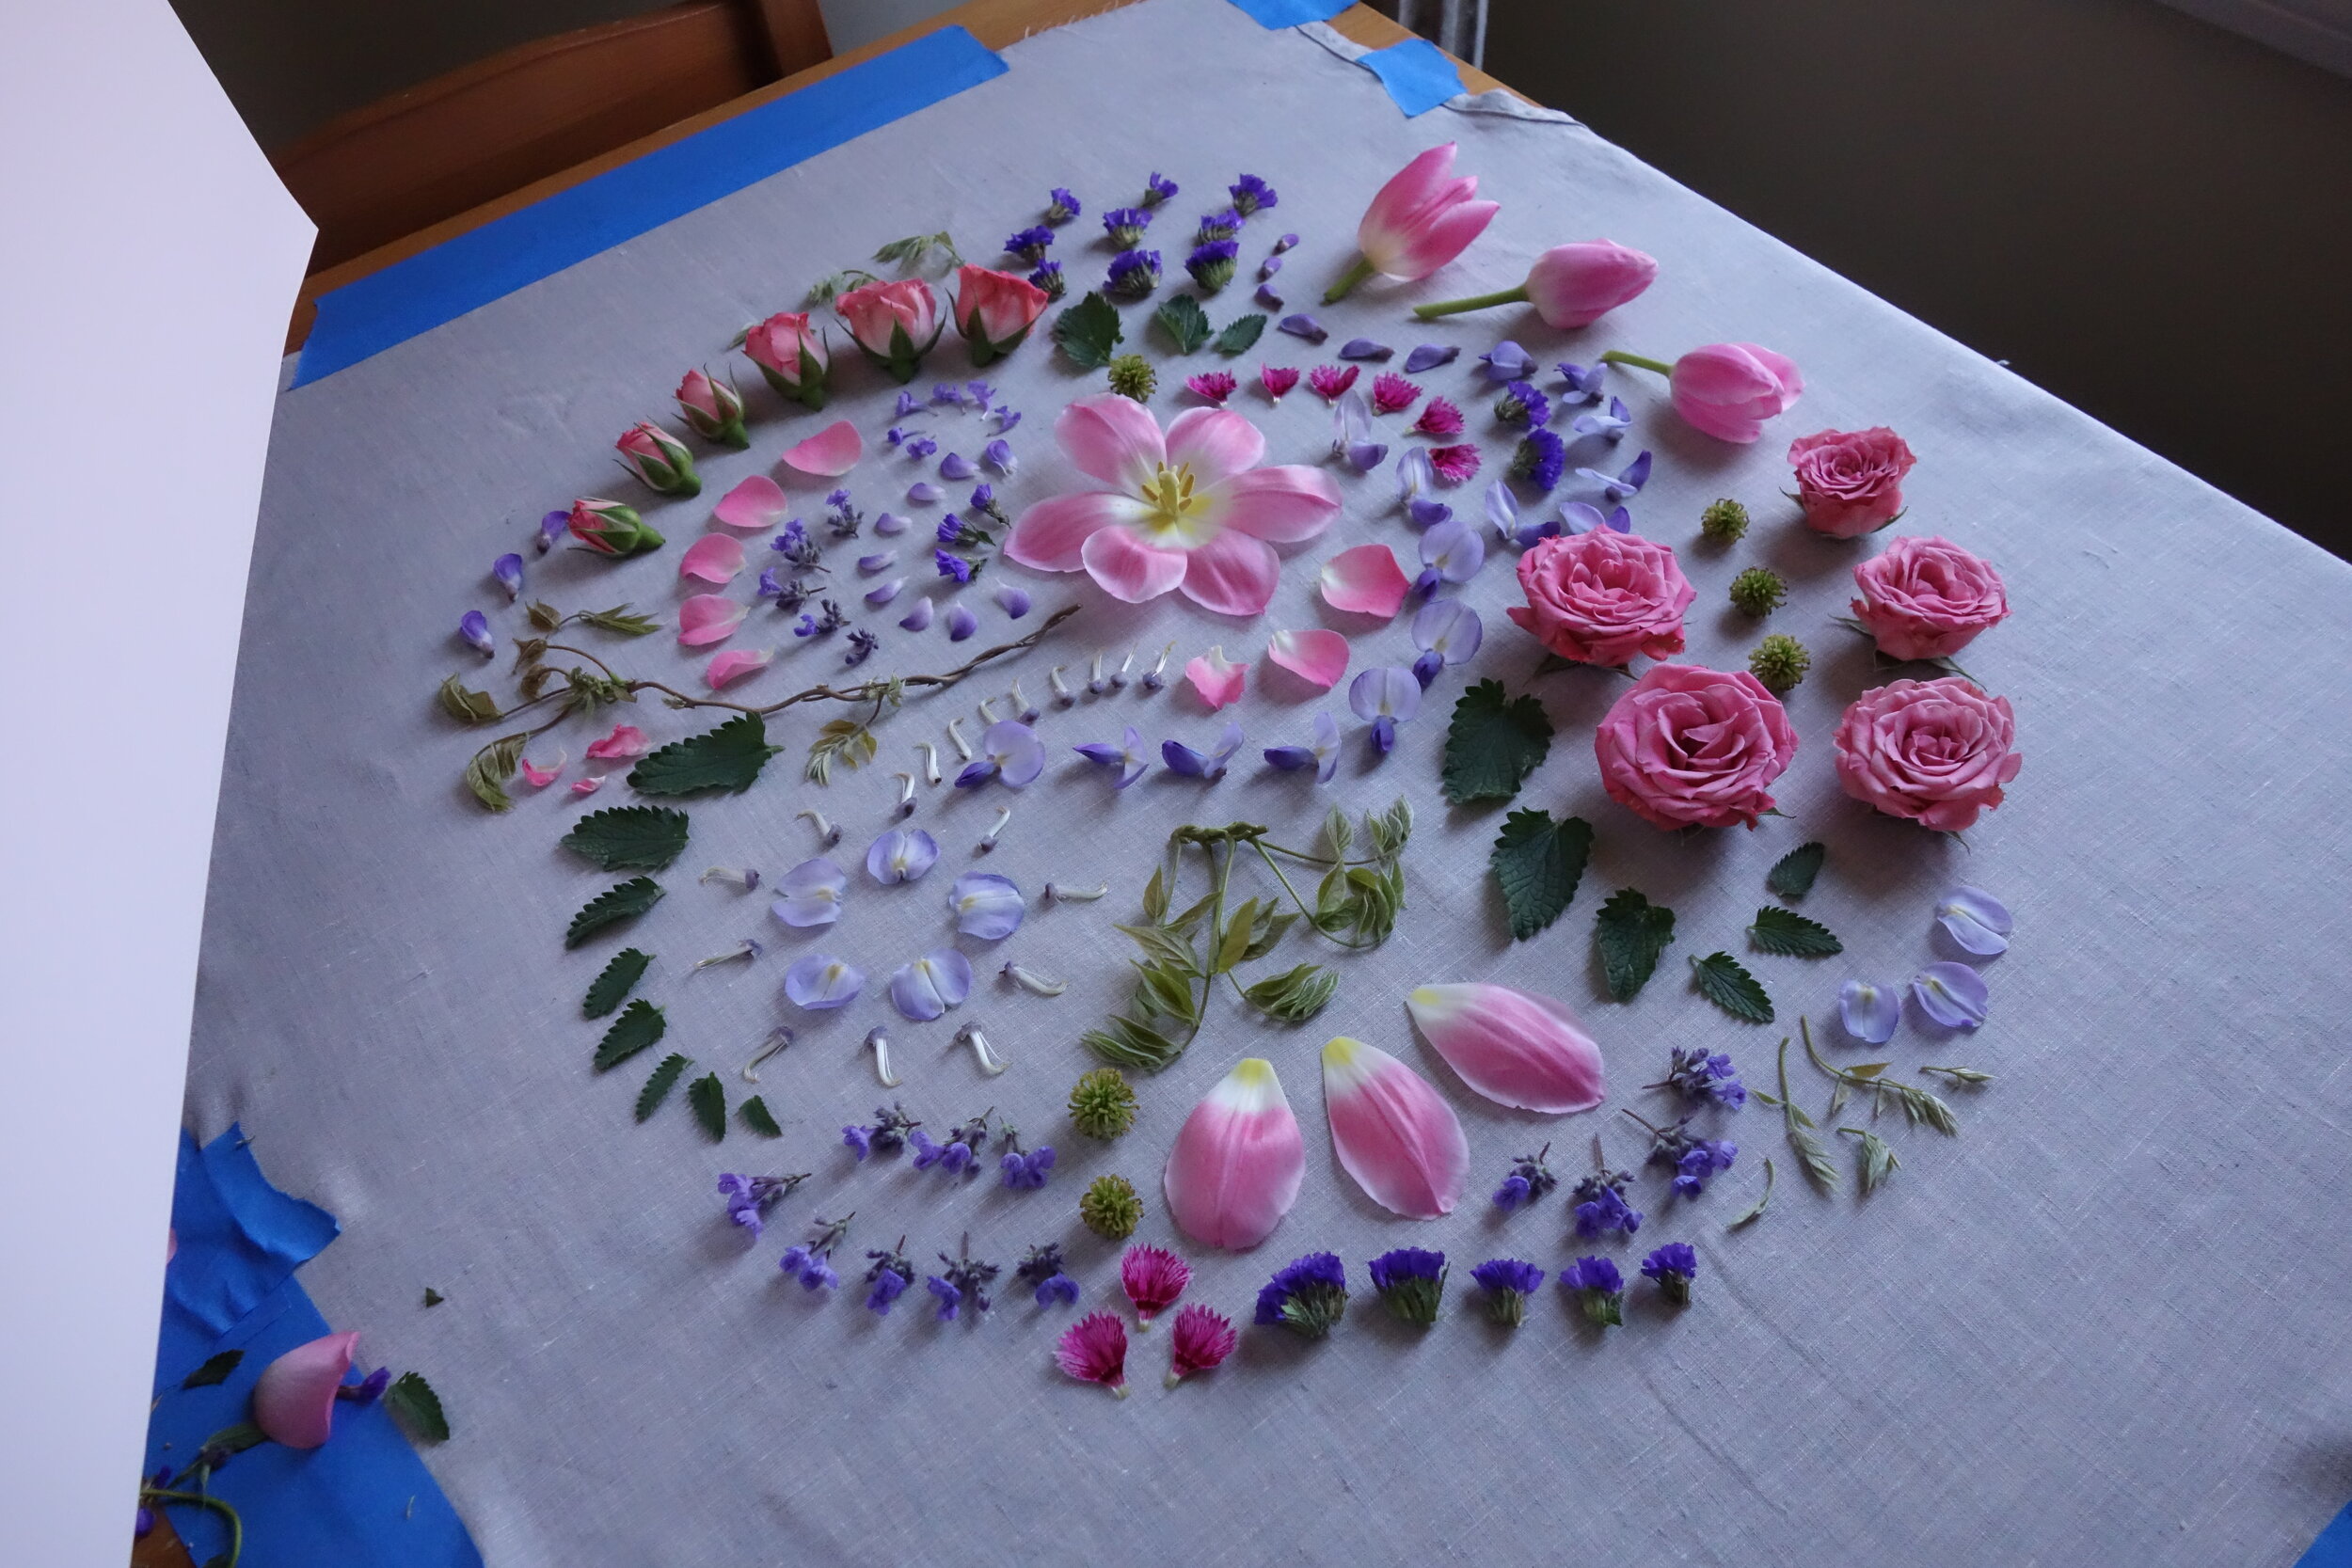
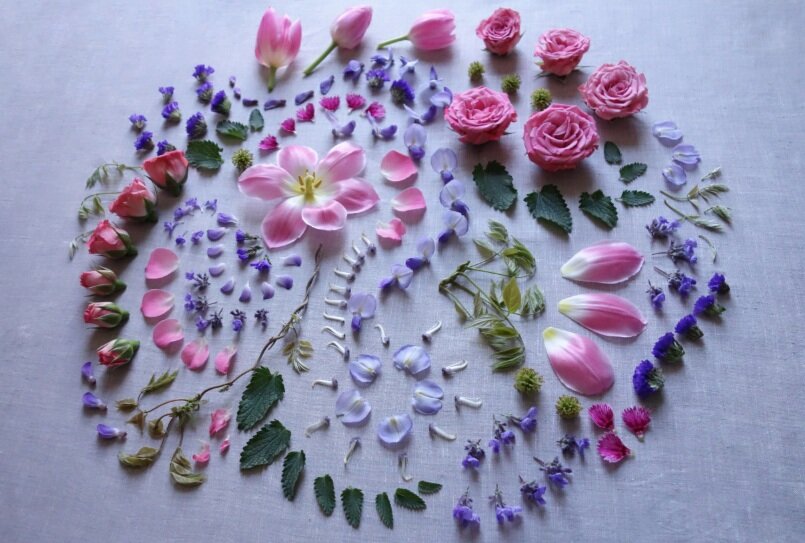
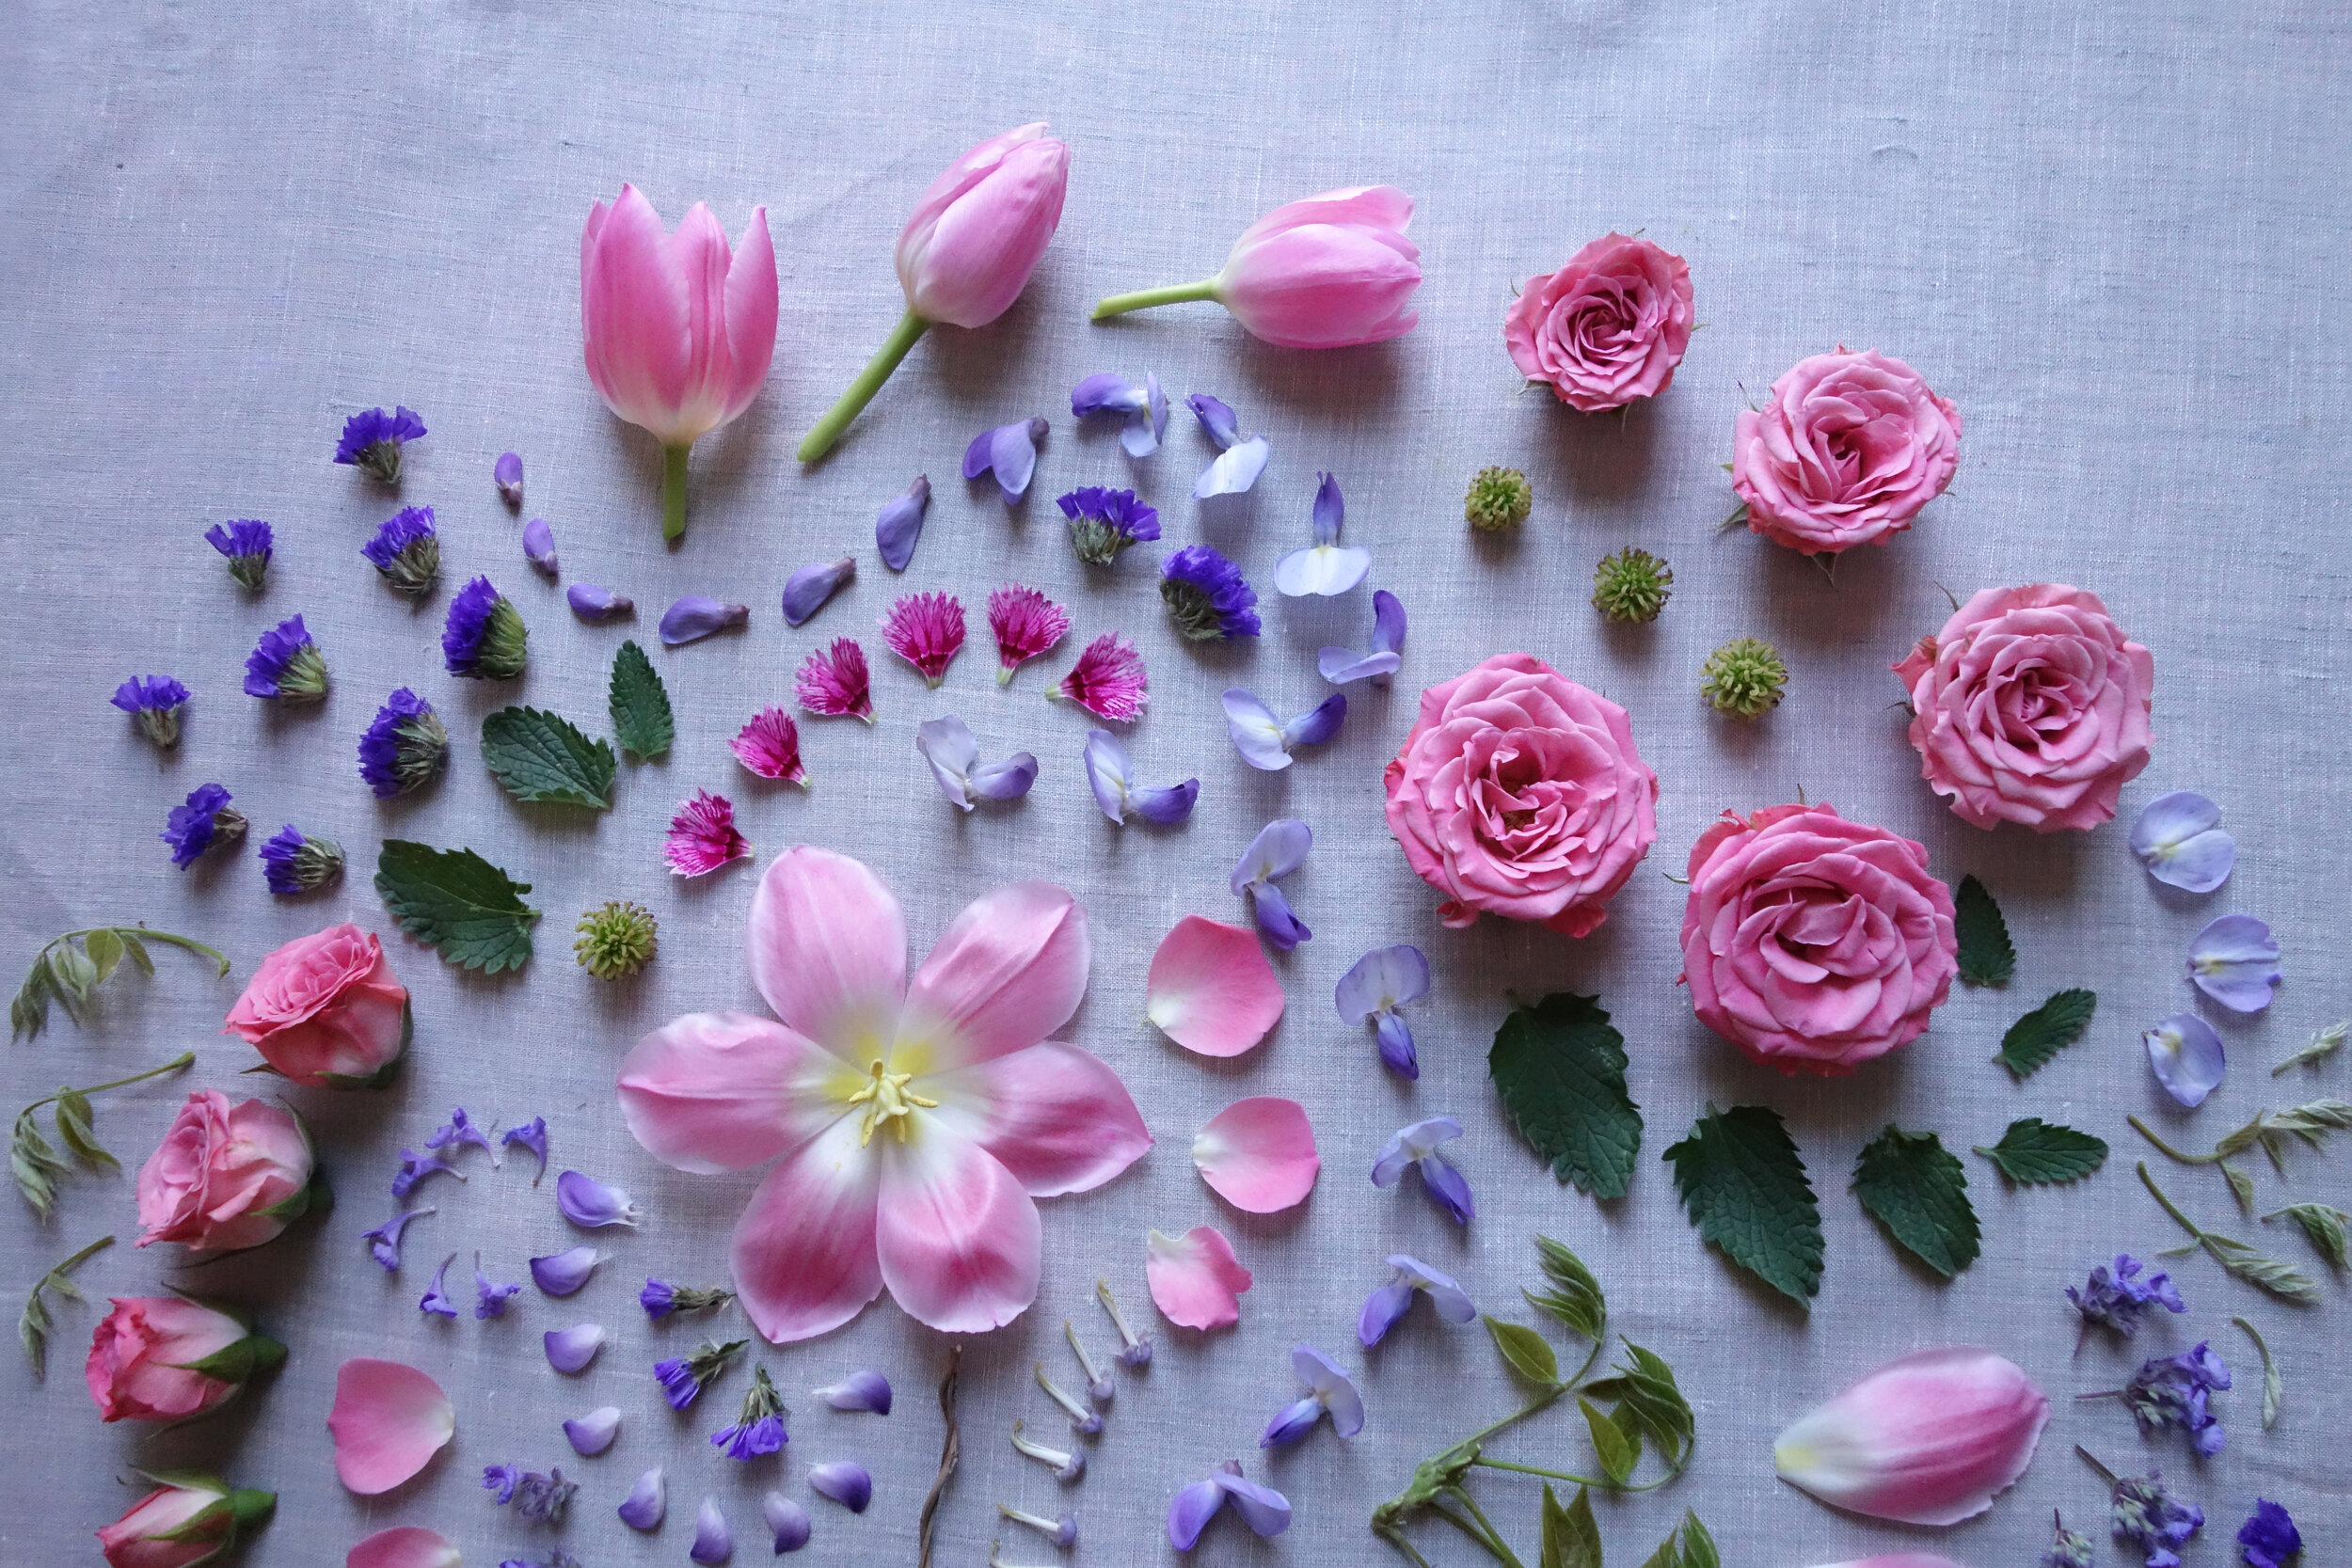
STEP FOUR: Choose a Focal Element and Focal Point
Trim your focal flower so that it will lay flat and place it toward the center of your composition.
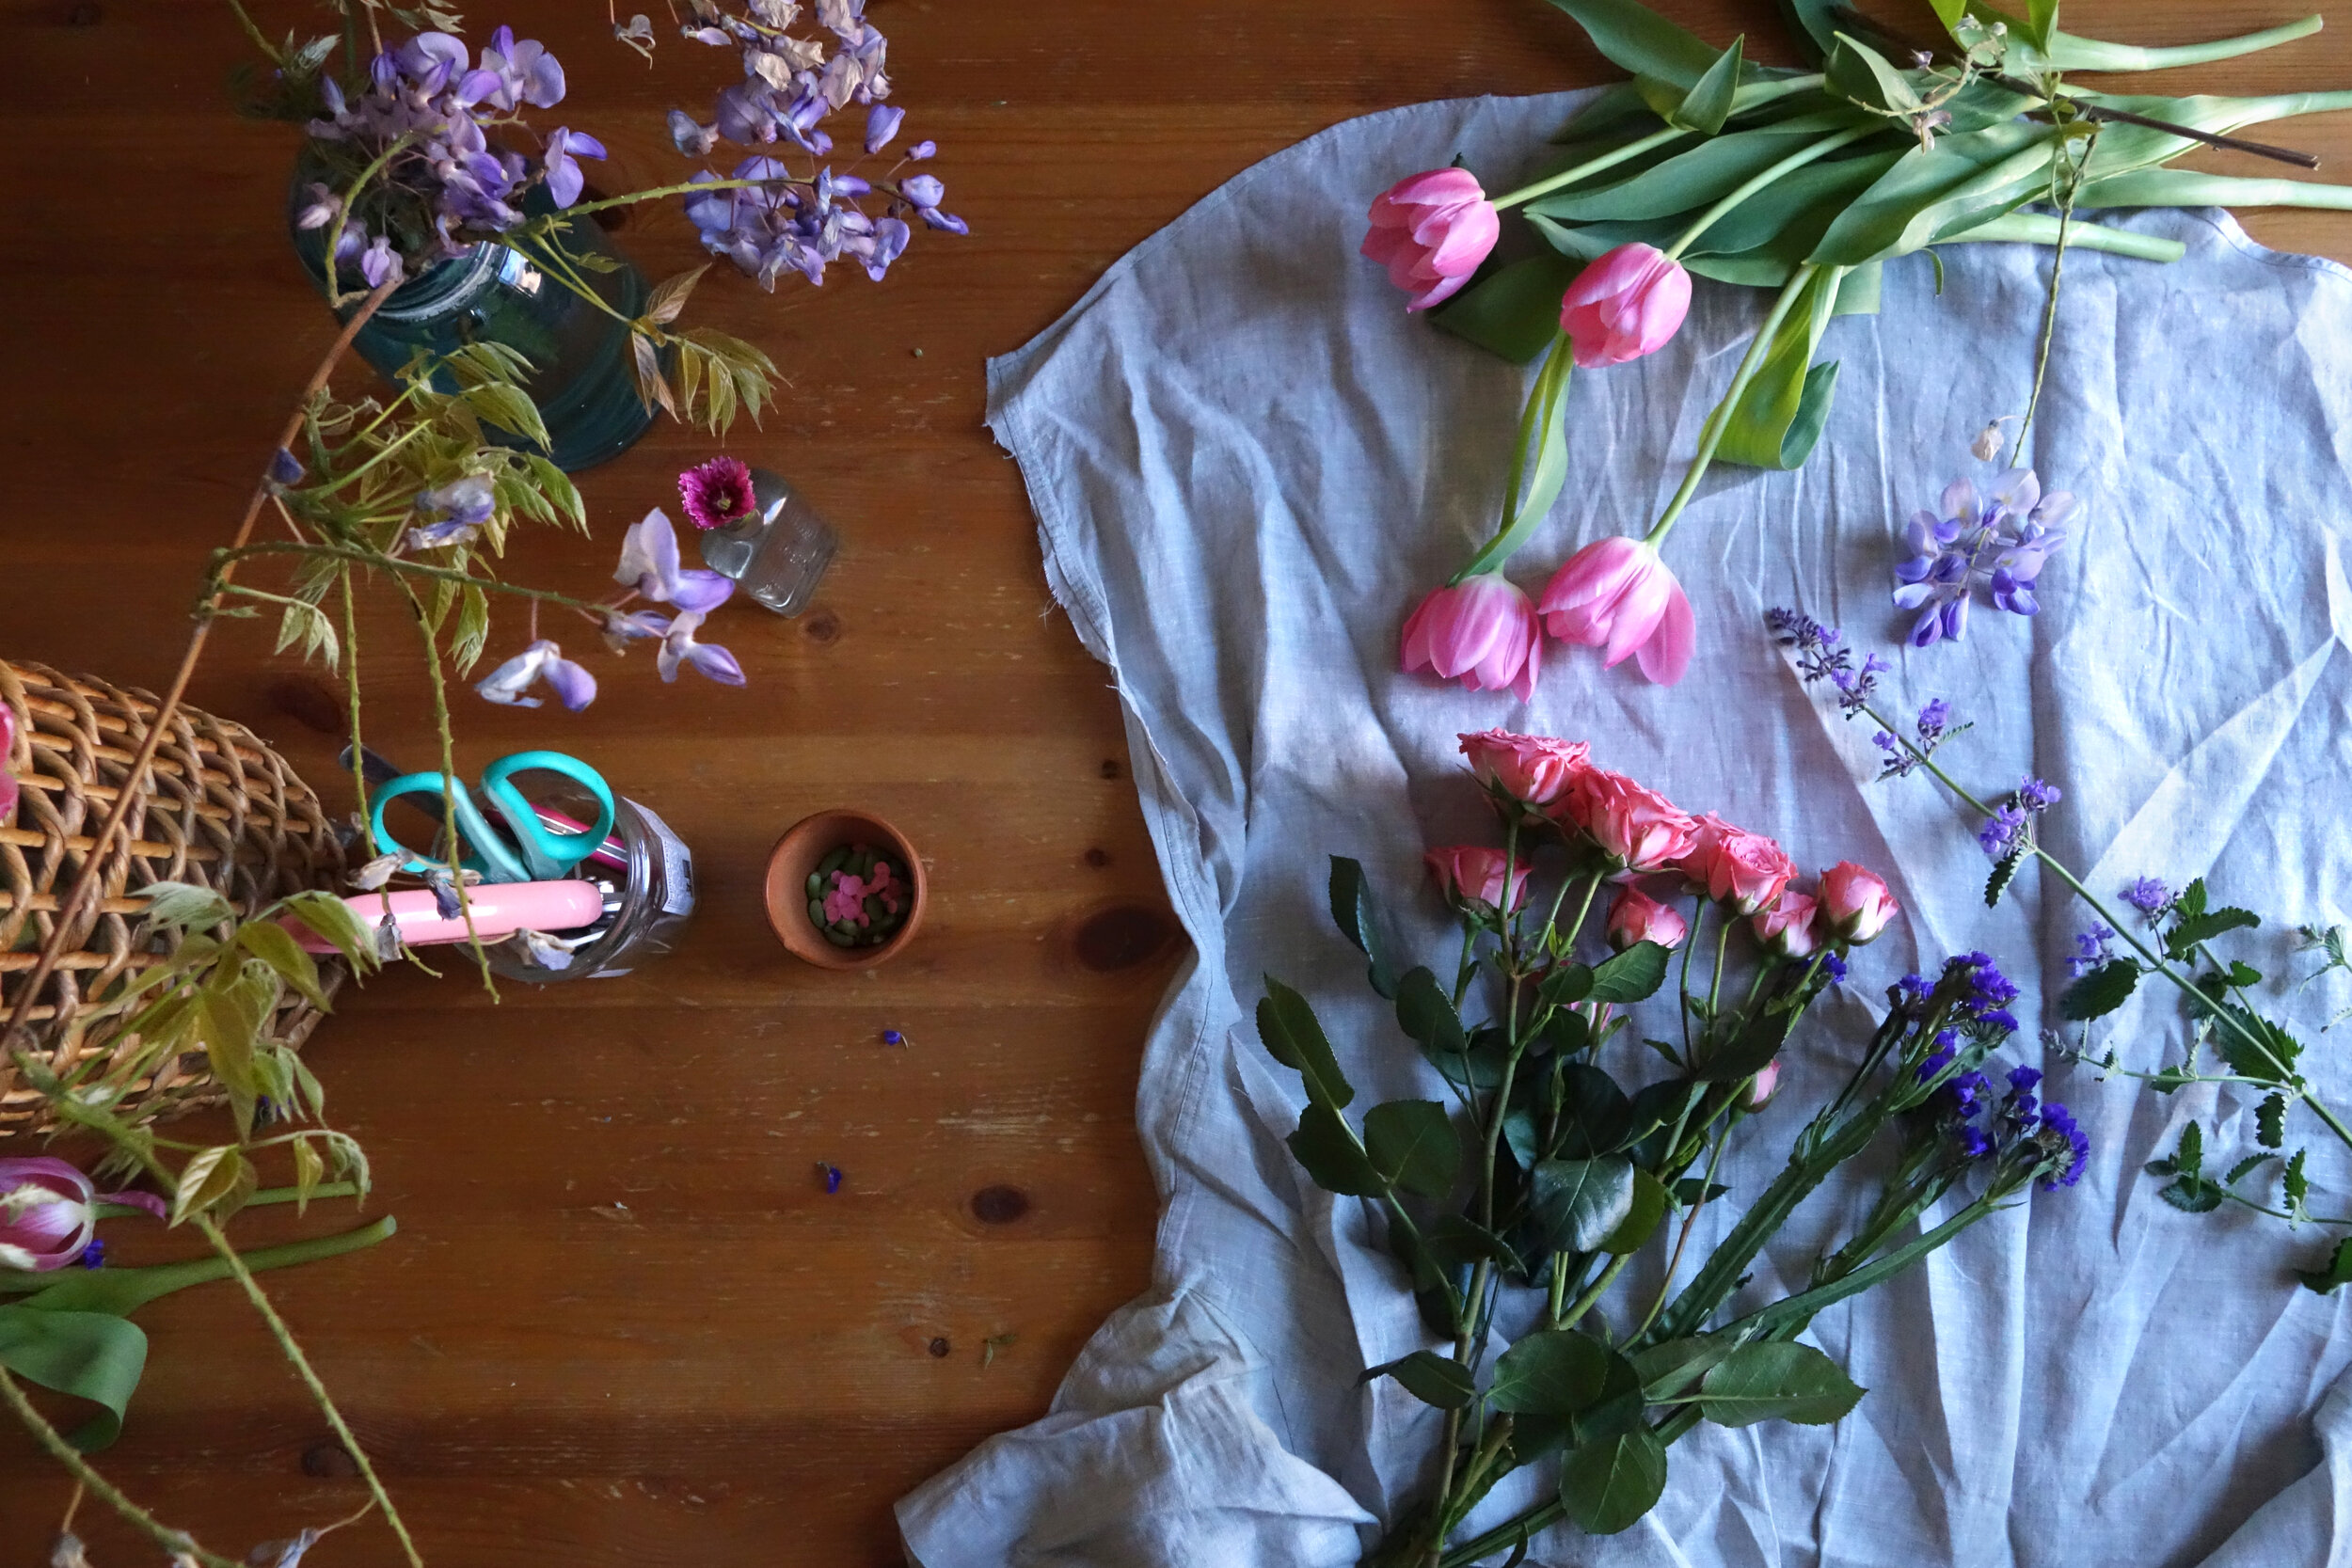
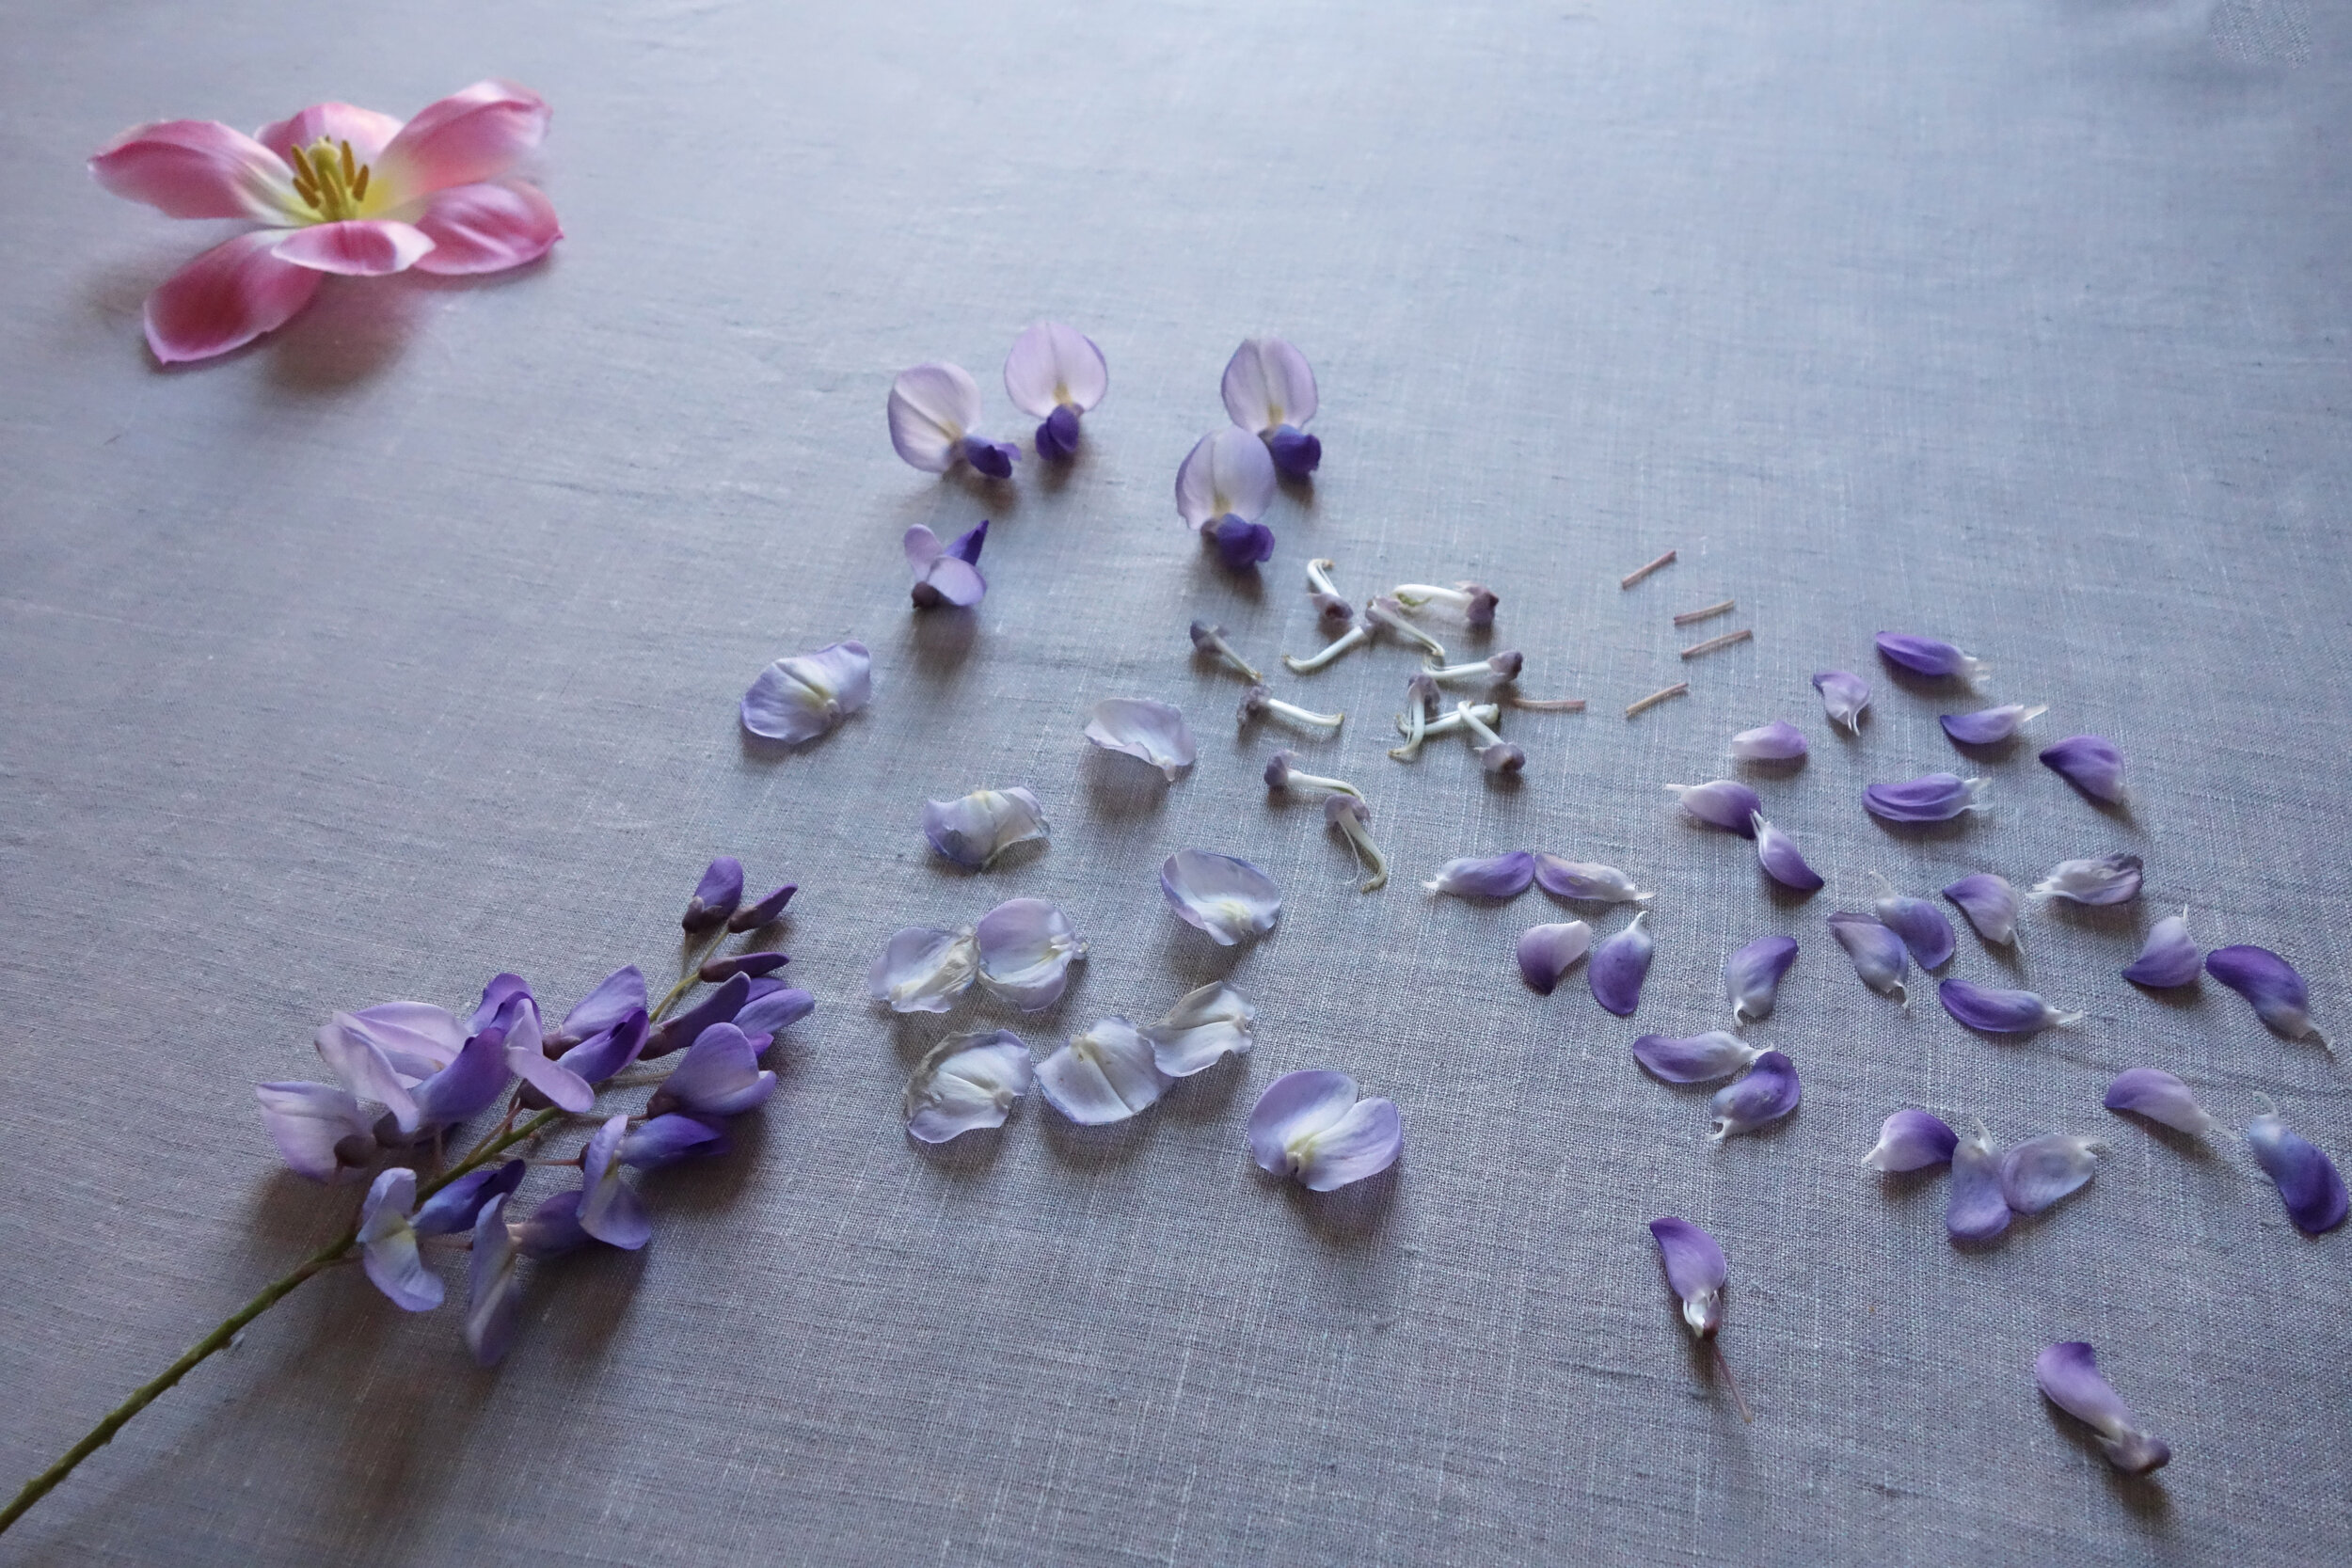
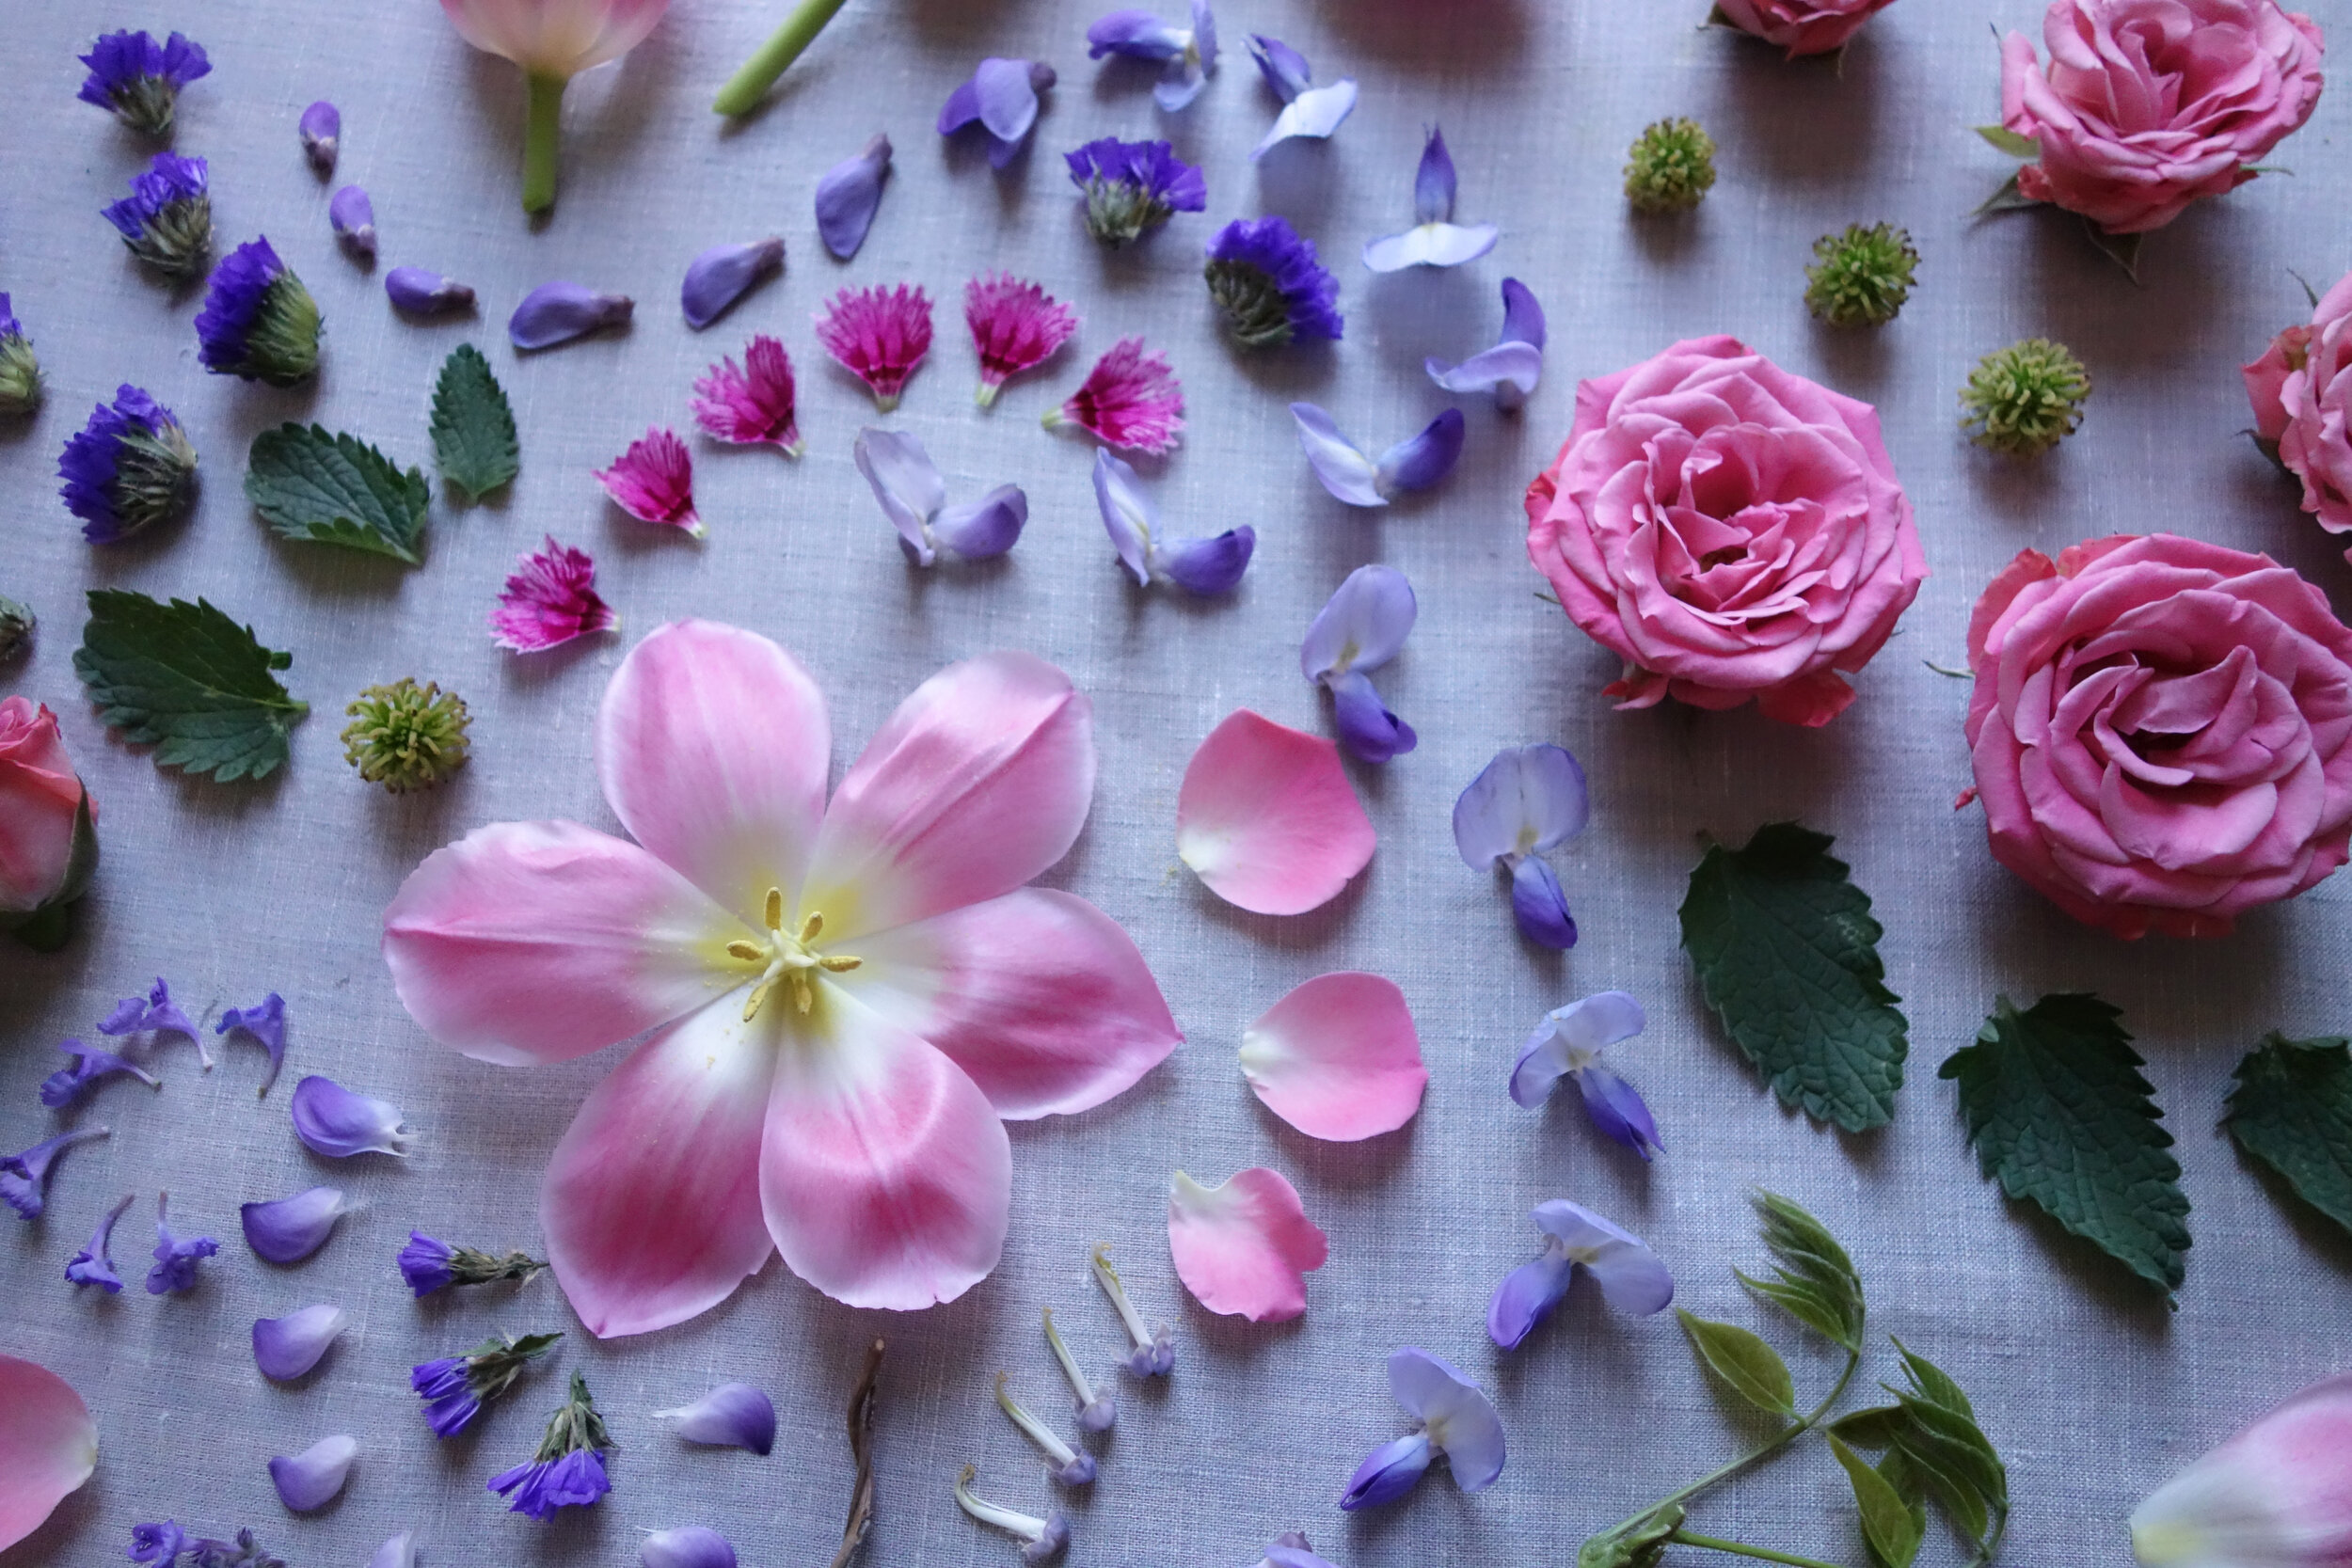
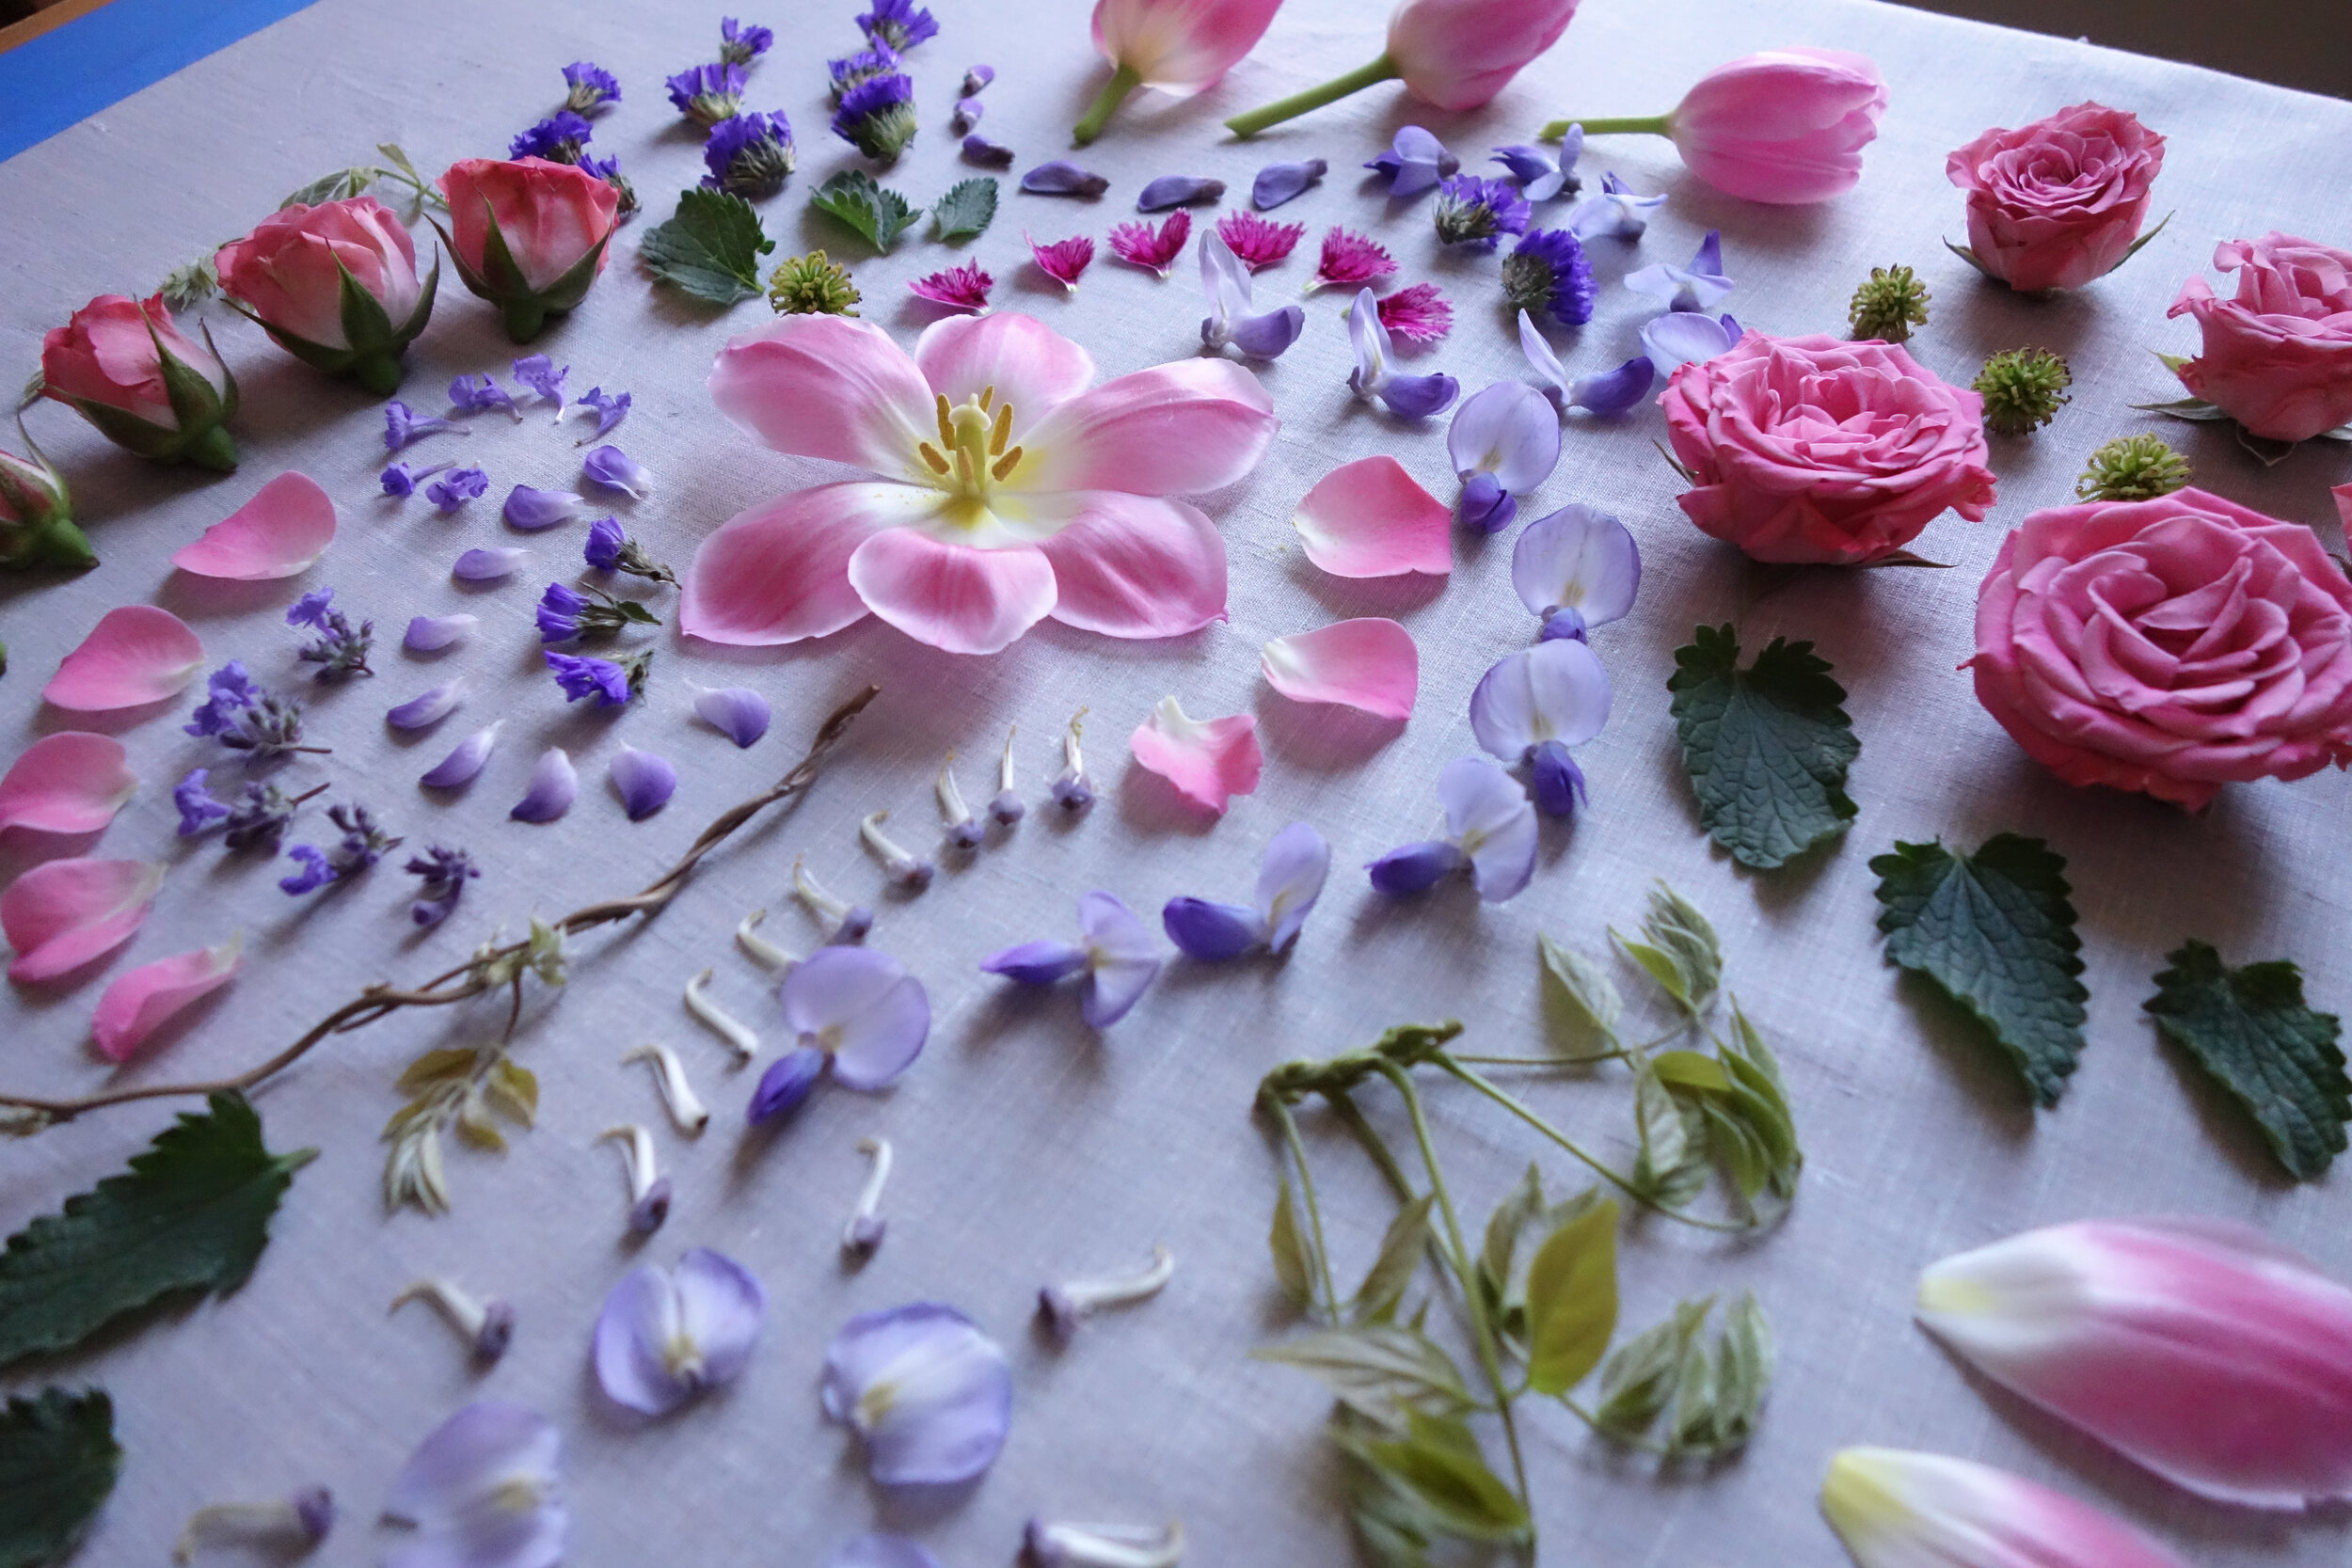
STEP FIVE: Choose and Deconstruct Your Second Floral Element
Aim to separate flower parts at natural joins rather than cutting pieces off with scissors. Peel, pluck, and snap with fingers rather than snipping so the edges taper naturally.
STEP SIX: Arrange Your Second Element
Arrange your deconstructed floral pieces in a way that leads your eye around the focal point. Organize the pieces from big to small or from light to dark.
You can utilize the golden ratio to block out your composition — start with three clusters of each material with varying sizes — so a small, medium, and a large cluster of each around the composition
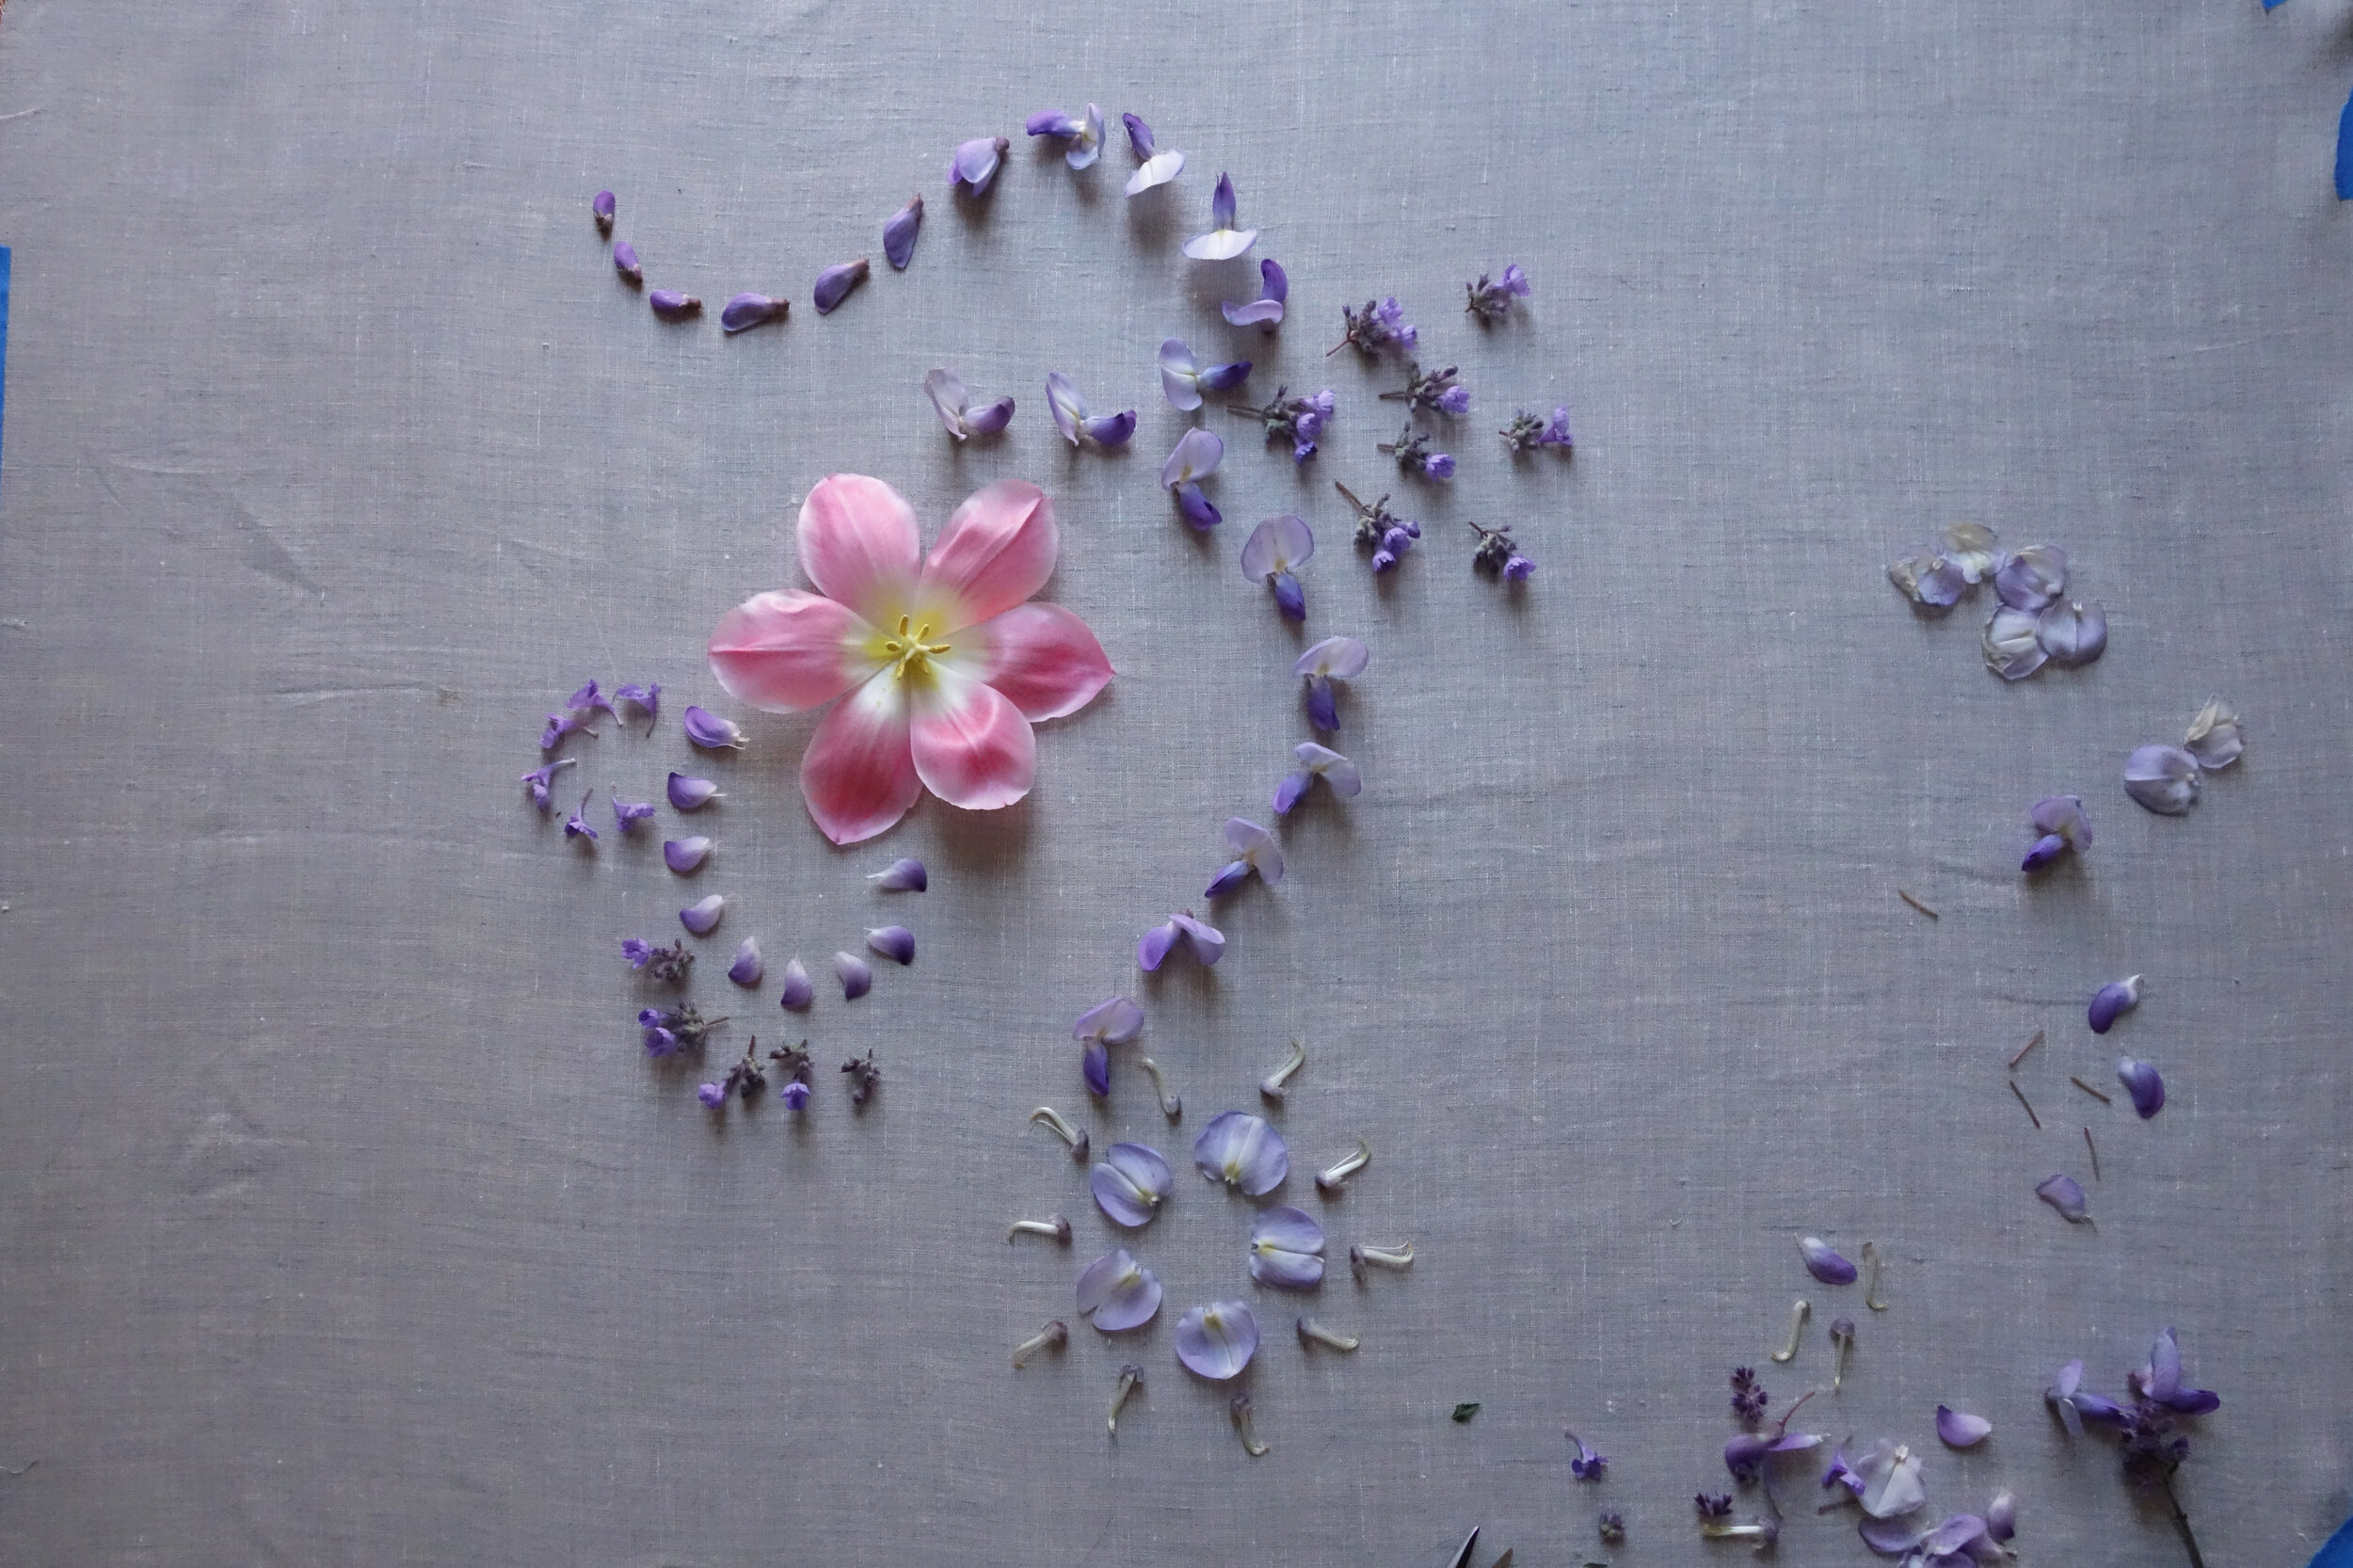
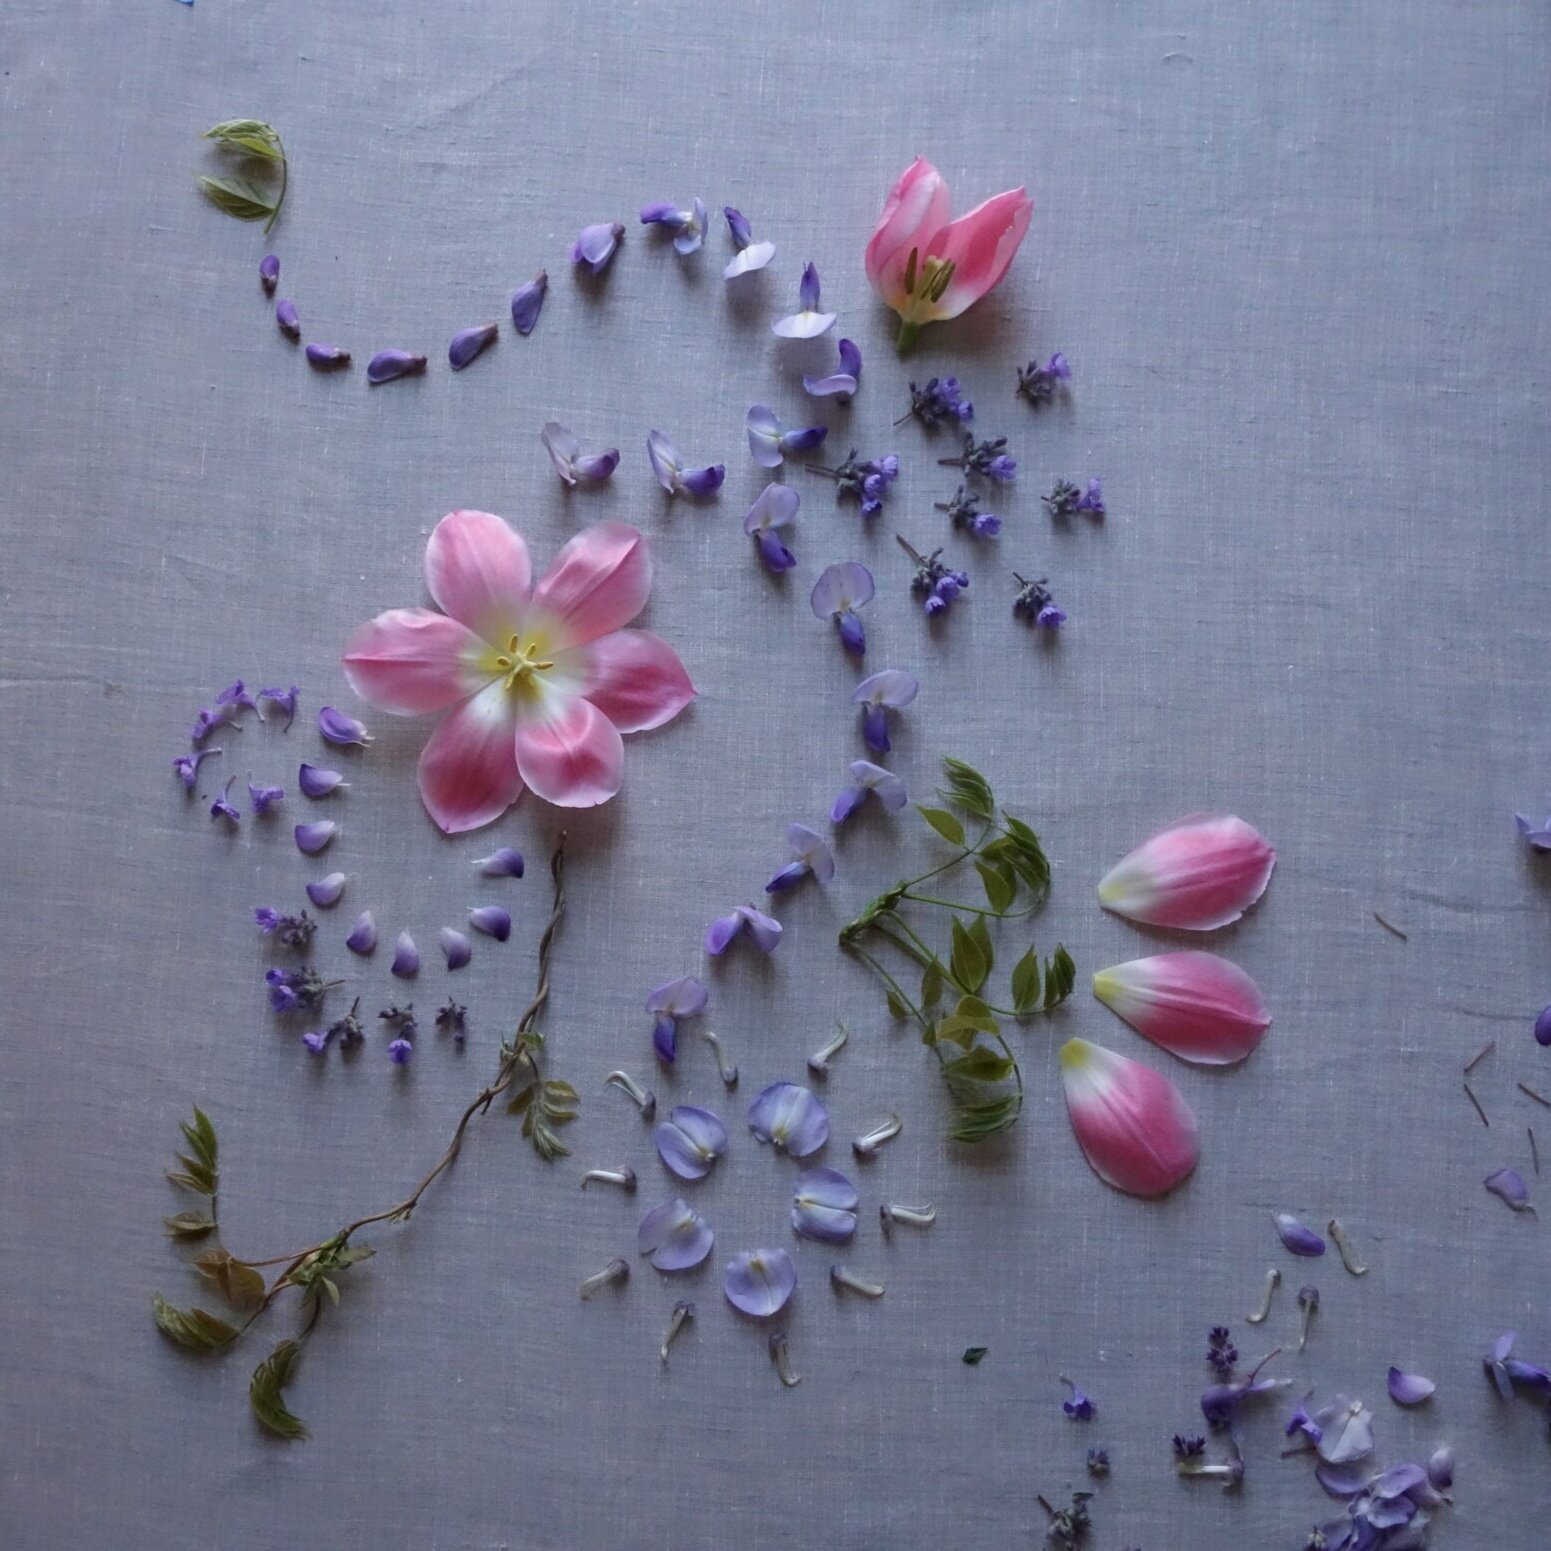
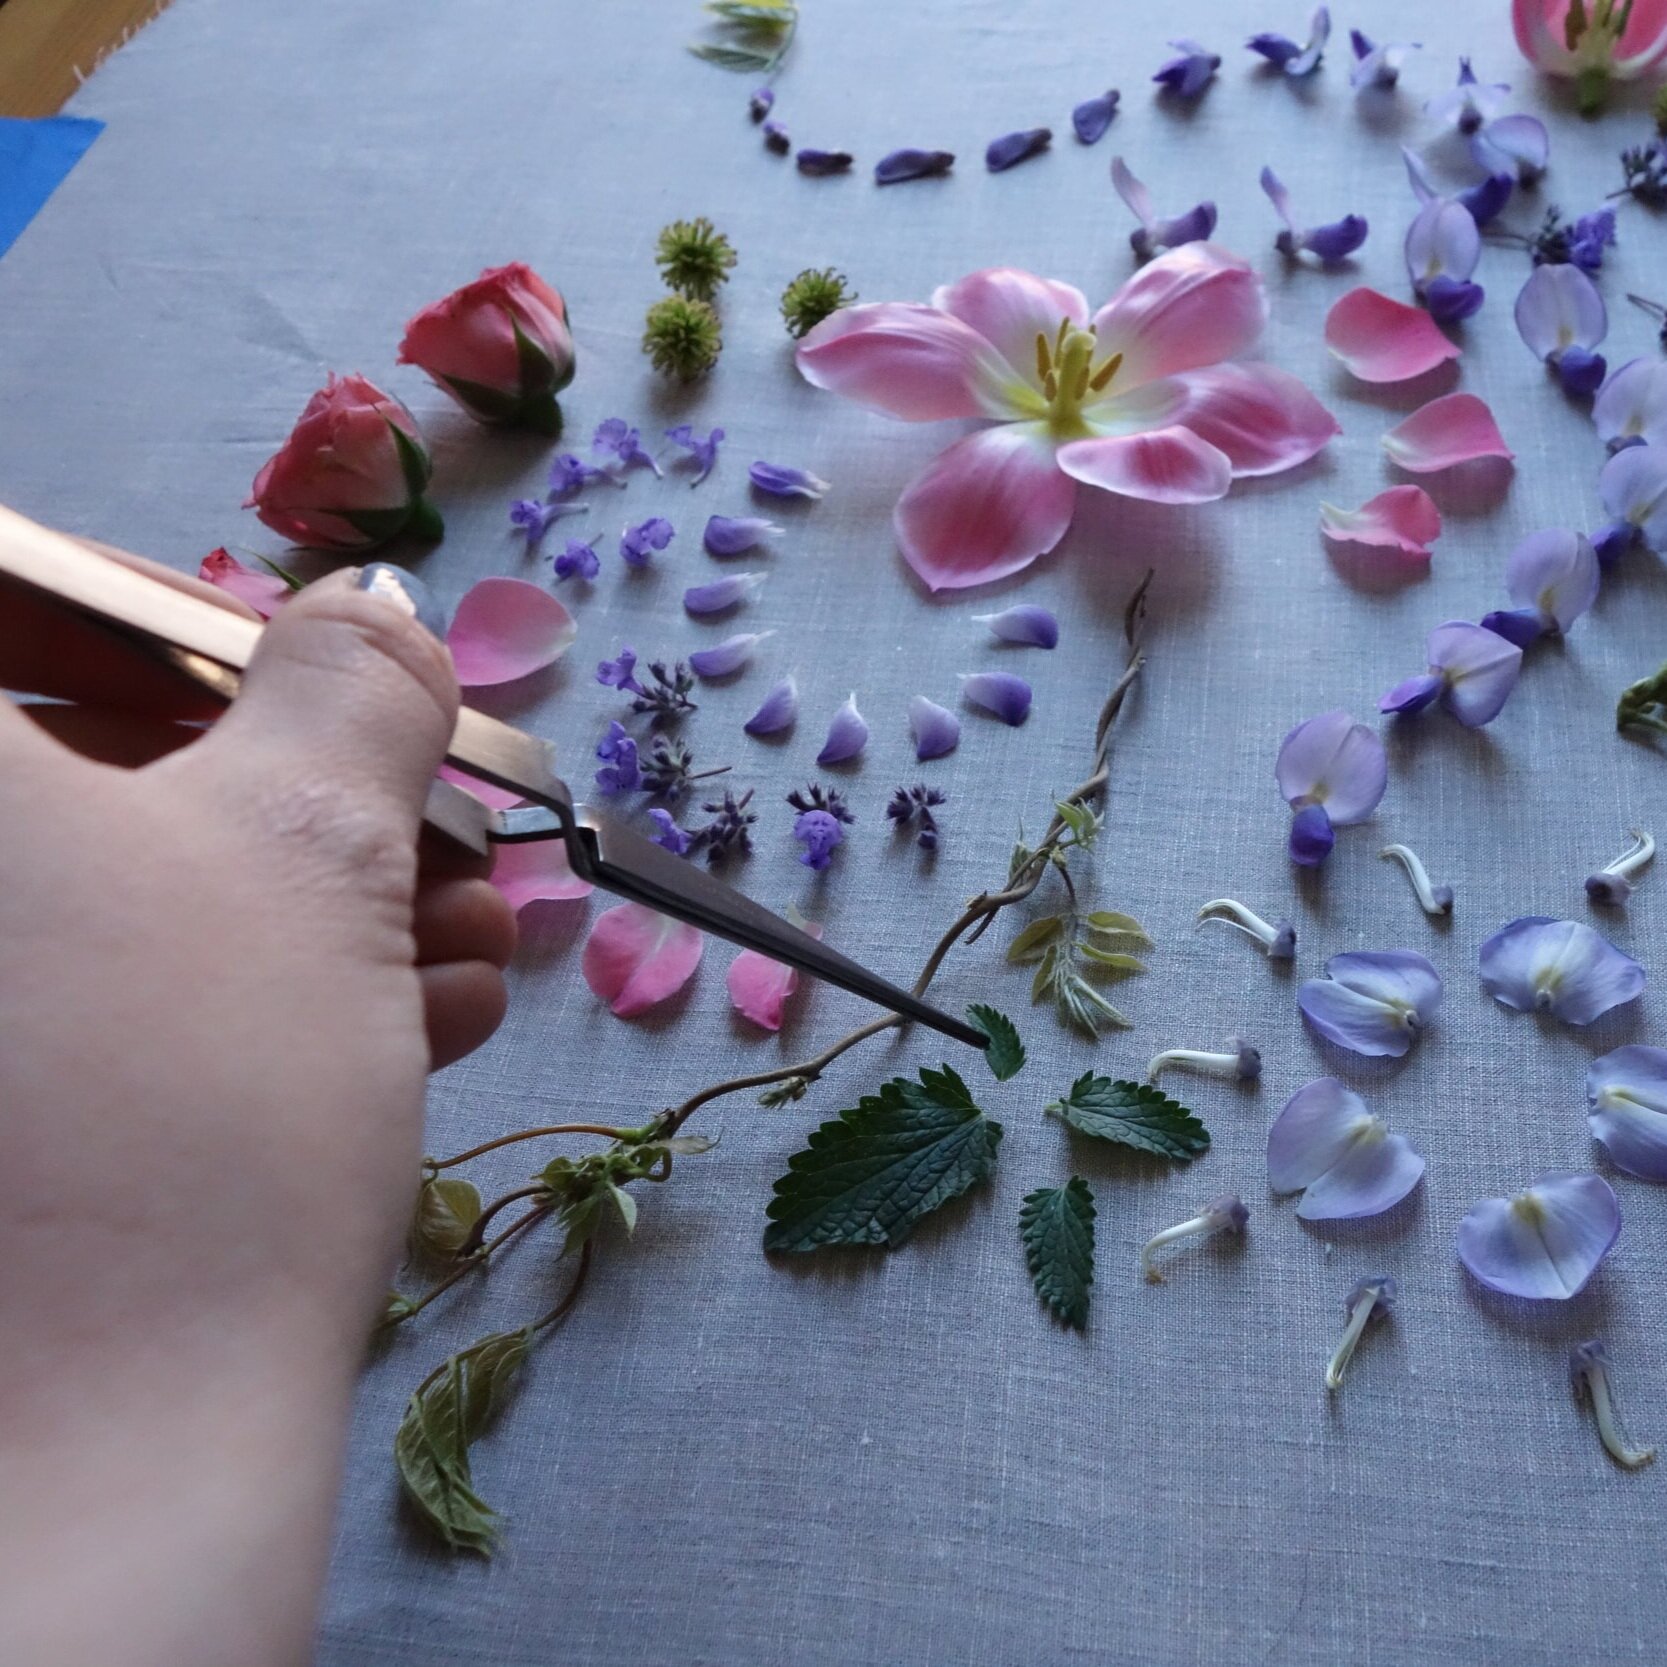
STEP SEVEN: Deconstruct and Add Additional Elements
Continue deconstructing and arranging your other flowers around the central element.
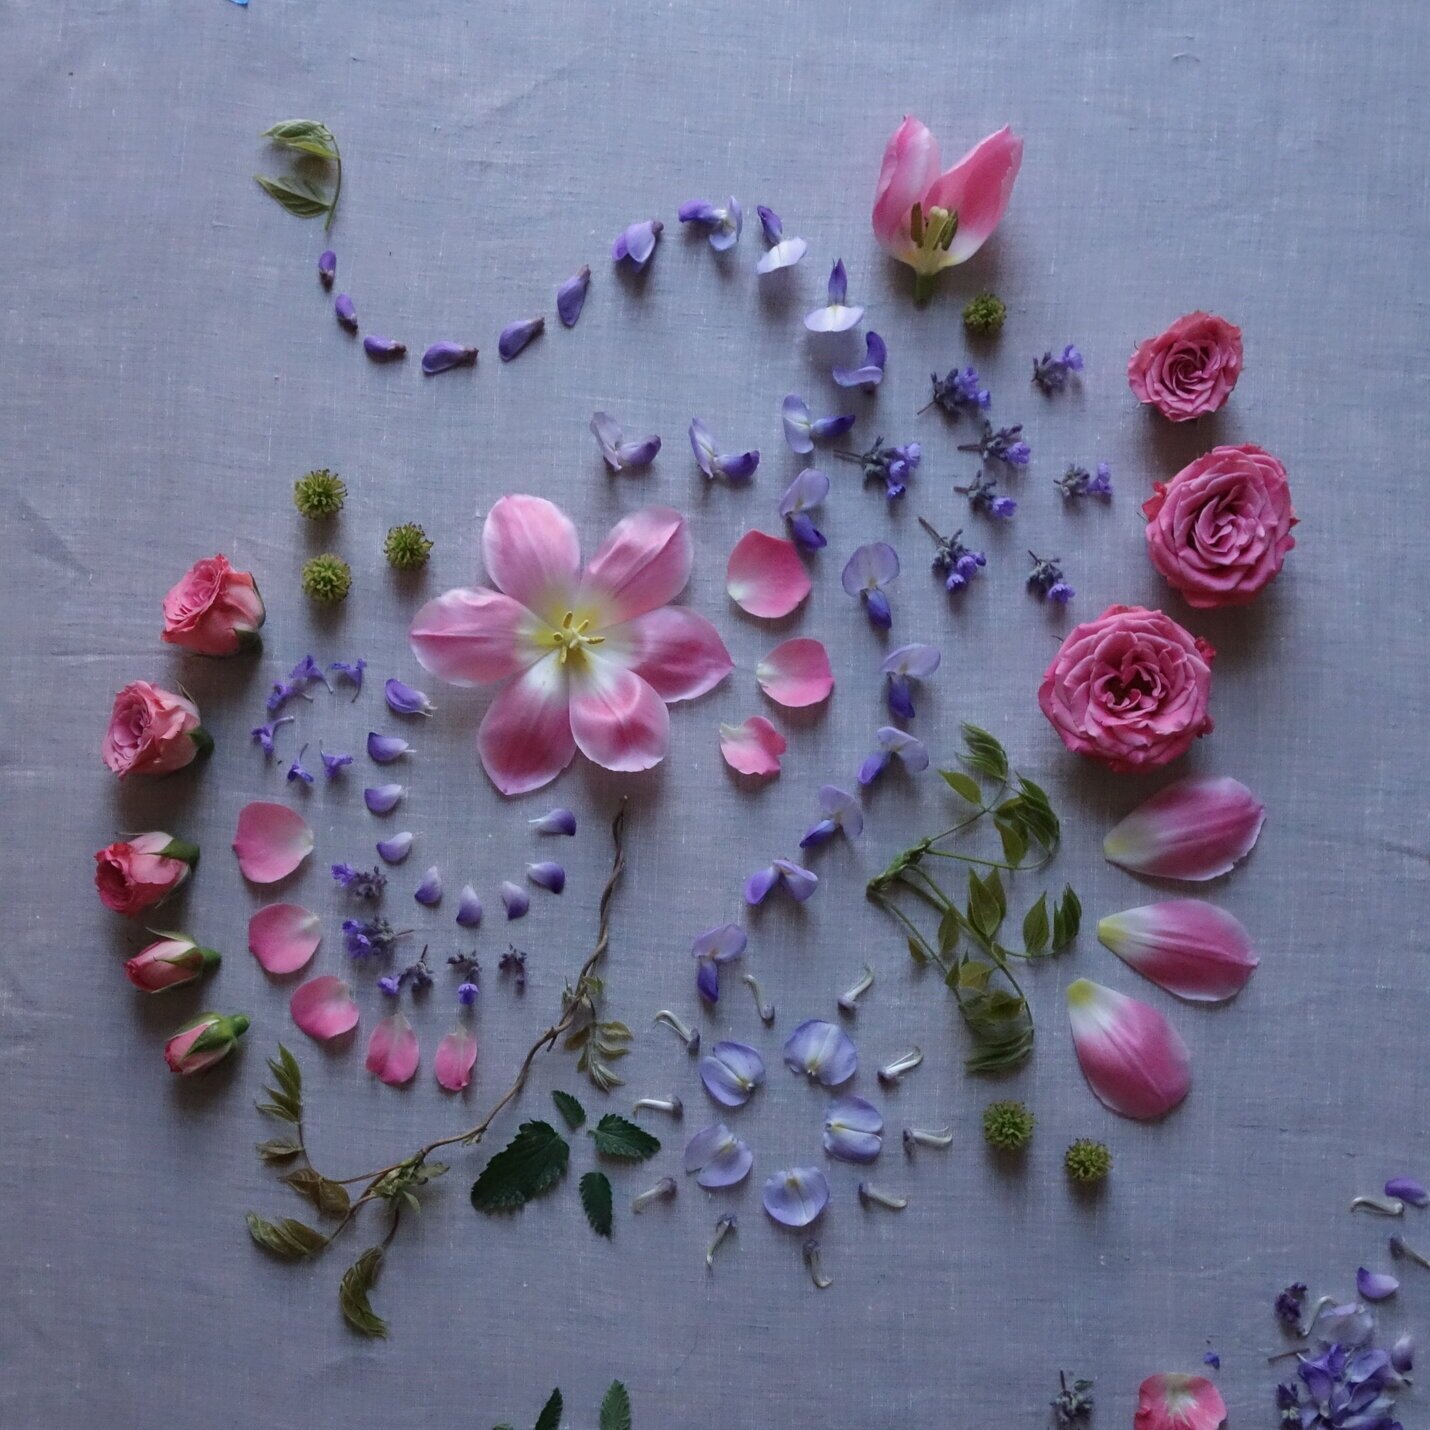
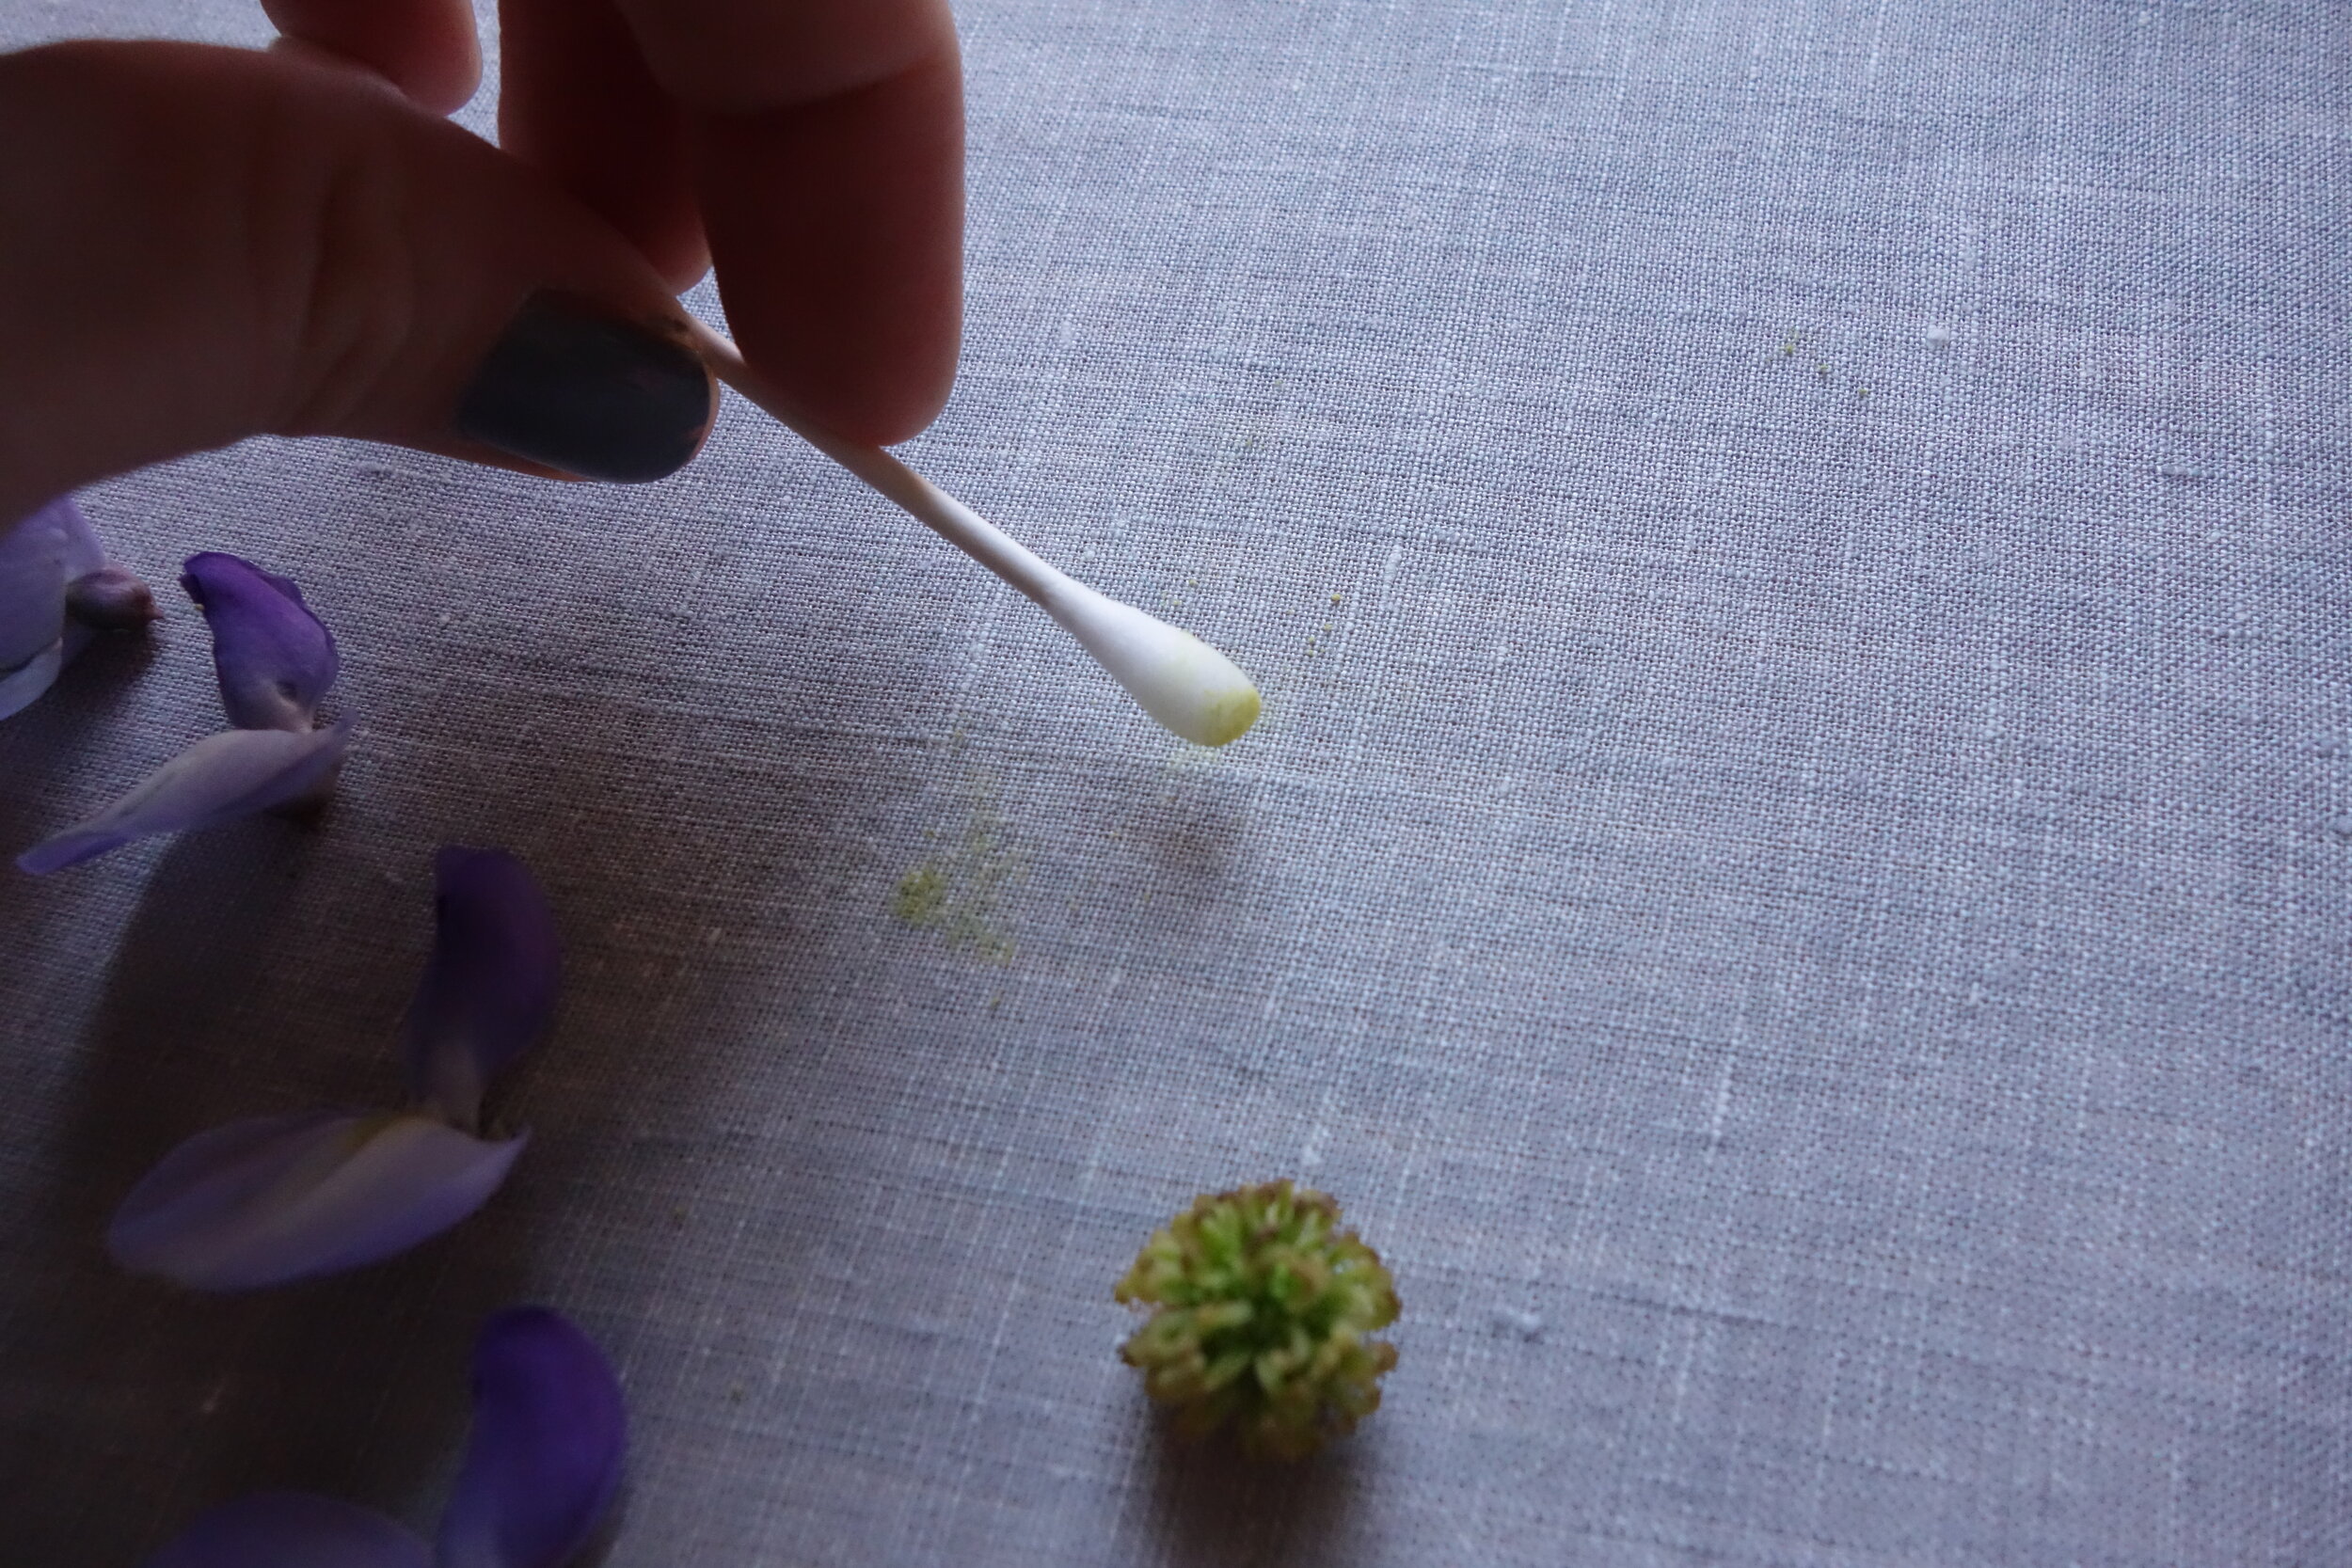
STEP EIGHT: Edit, Adjust, and Clean
Don’t be afraid to move and change your elements. If something feels off, switch it up. Use tweezers or a damp Q-tip to pick up any stray specks fo dirt or debris.
Step back and look at the edges and the overall shape you’ve ended up with as well as the spaces between elements — try to nudge things around until they feel right and you have a clear edge.
STEP NINE: Photograph Your Flat Lay
Photograph your flat lay from different angels.
Tip: If there are pesky shadows, use a white poster board or pillow to reflect light

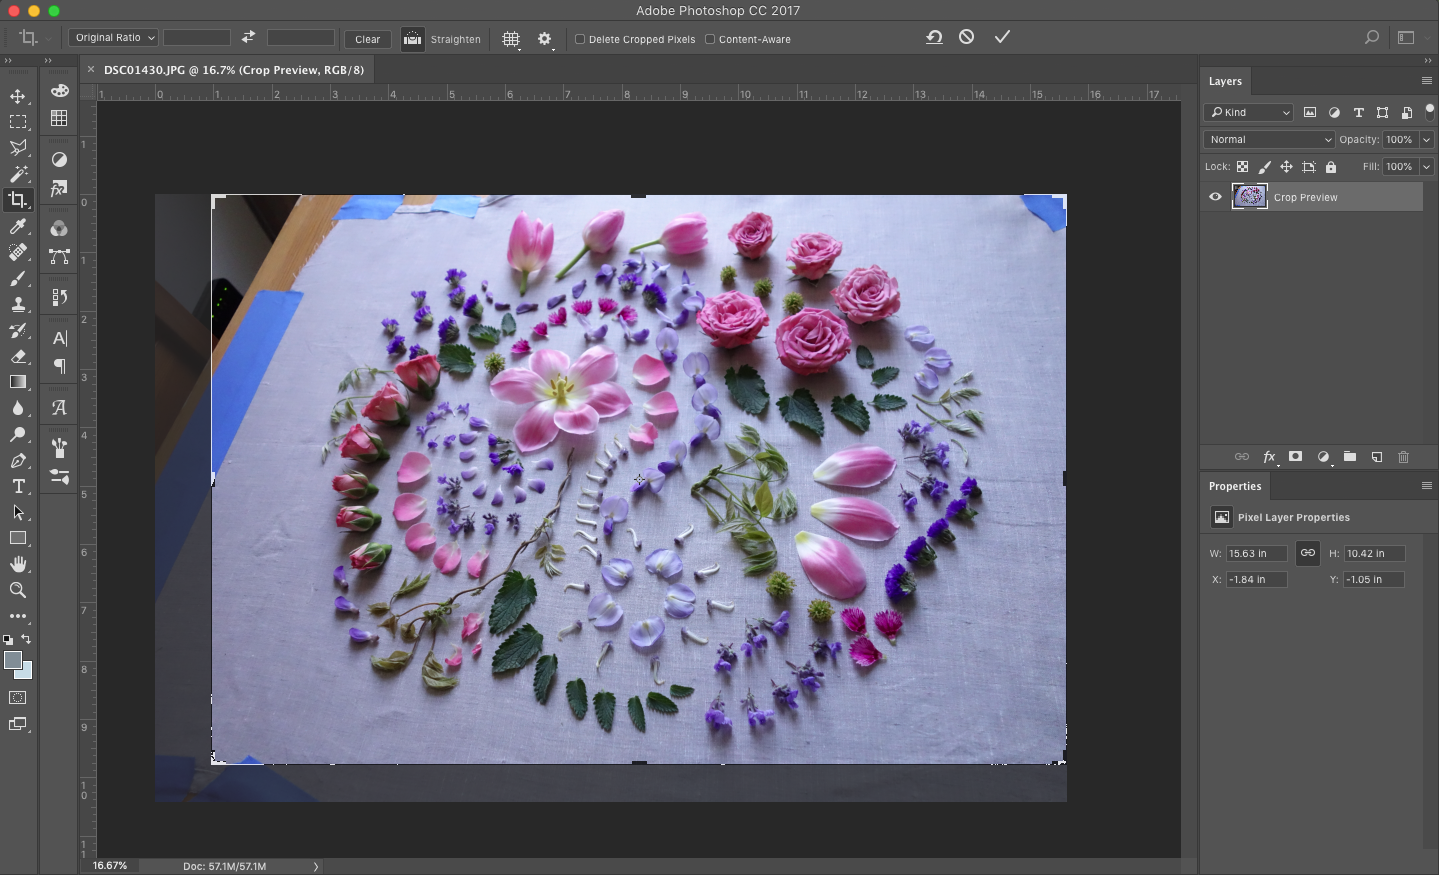
STEP TEN: Edit Your Photos
Use Photoshop or a similar photo editing app to adjust and edit brightness, contrast, and more.
STEP ELEVEN: Post Your Flat Lay!
Brighten up your Instagram feed (and likely someone’s day!) by posting your flat lay to social media. Gorgeous fresh flower flay lays also make for wonderful phone and computer backgrounds.

If you’re looking for more creative inspiration, head over to our Instagram. From large hanging installations and flower walls to simple DIY projects, our Instagram has been known to spark creativity and motivate the artist in you. If you’re looking to the future to plan your next event, reach out to us! We can help design events of every size – from small summer dinner parties to large wedding day celebrations. We look forward to hearing from you!